Have you ever heard of Jamberry Nails? A Jamberry nail consultant recently contacted us asking us the same question.
Had we heard of it? NOPE!
Who is that consultant? Her name is Emilie Royer. Emilie is a Director at Jamberry nails. Emilie is a California stay at home mother of four, who is celebrating her 10th wedding anniversary this June. In her free time she enjoys cooking, baking, crafting, spending time with her family and the occasional small shopping spree. ( Who doesn't?! ) She loves what she does, and is so excited to share Jamberry Nails with all of you.
Emilie would love to be your Jamberry Consultant. You can visit her Jamberry page here. You can also email her at [email protected] with any questions you may have. She is very helpful. (I even emailed mid application for some tips)
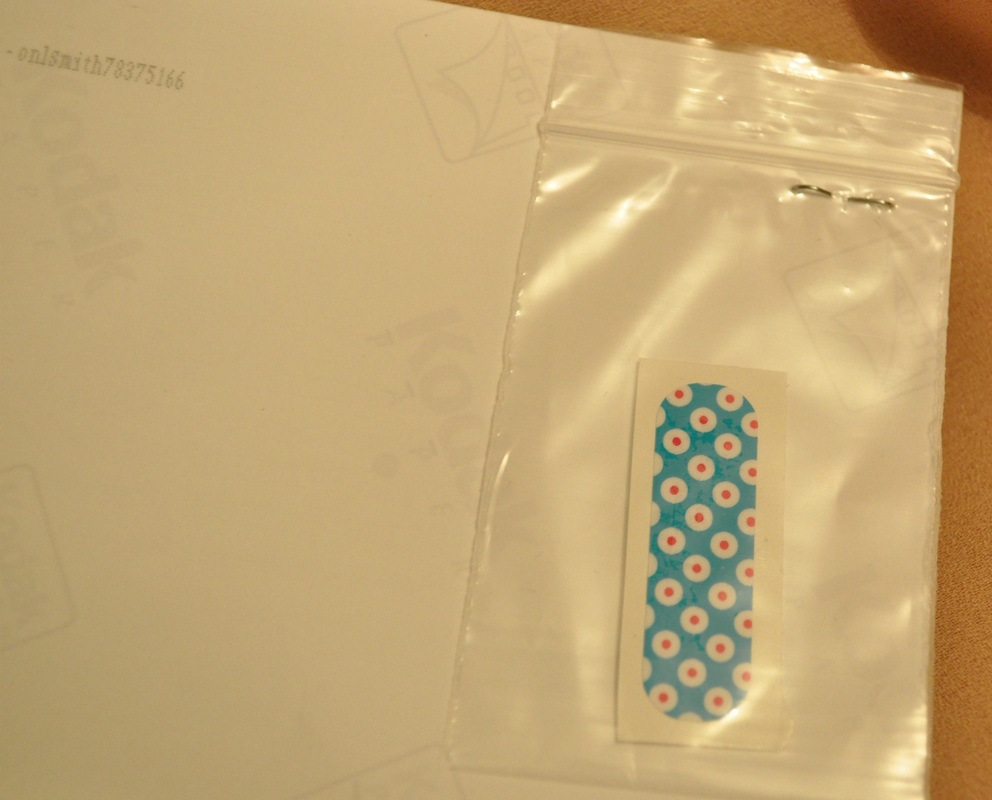
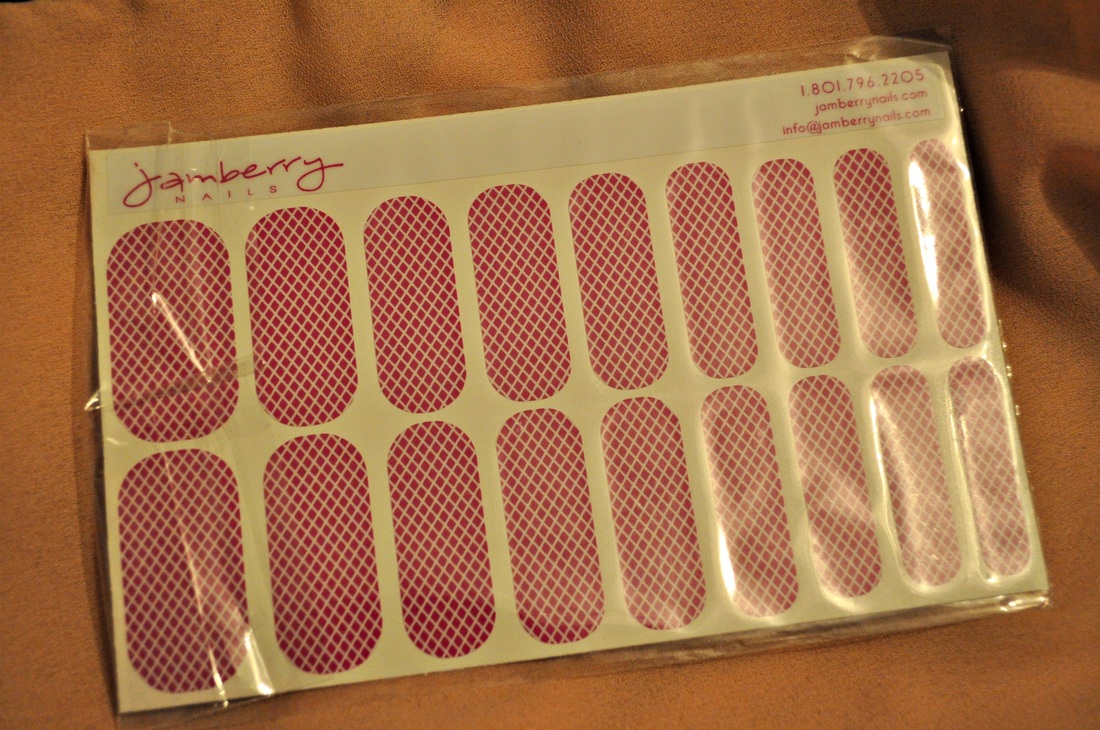
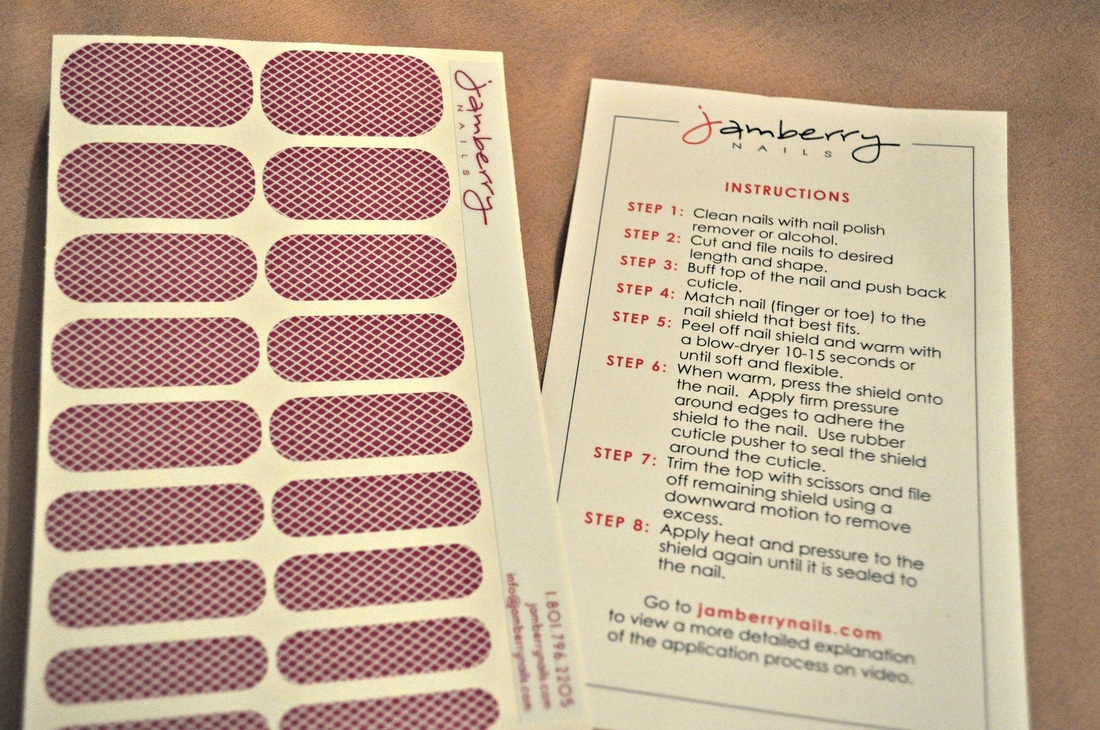
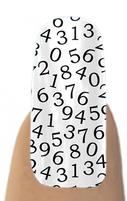
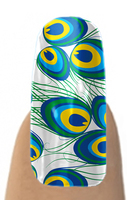
Ok... but what is Jamberry? Jamberry is a U.S. based company that makes heat activated, vinyl plastic nail coverings. They call these coverings "nail shields".
When can I Jamberry? Any time! Jamberry is great for every day, but is also a great idea for special occasions. Do you have a wedding, prom, photo shoot, or work presentation coming up? Jamberry nails look sleek and sophistacated at the same time as looking fun. Jamberry would also be a great thing to do at a spa party. Of course, Jamberry does the hosting parties if you would like a consultant to come over and host the party for you.
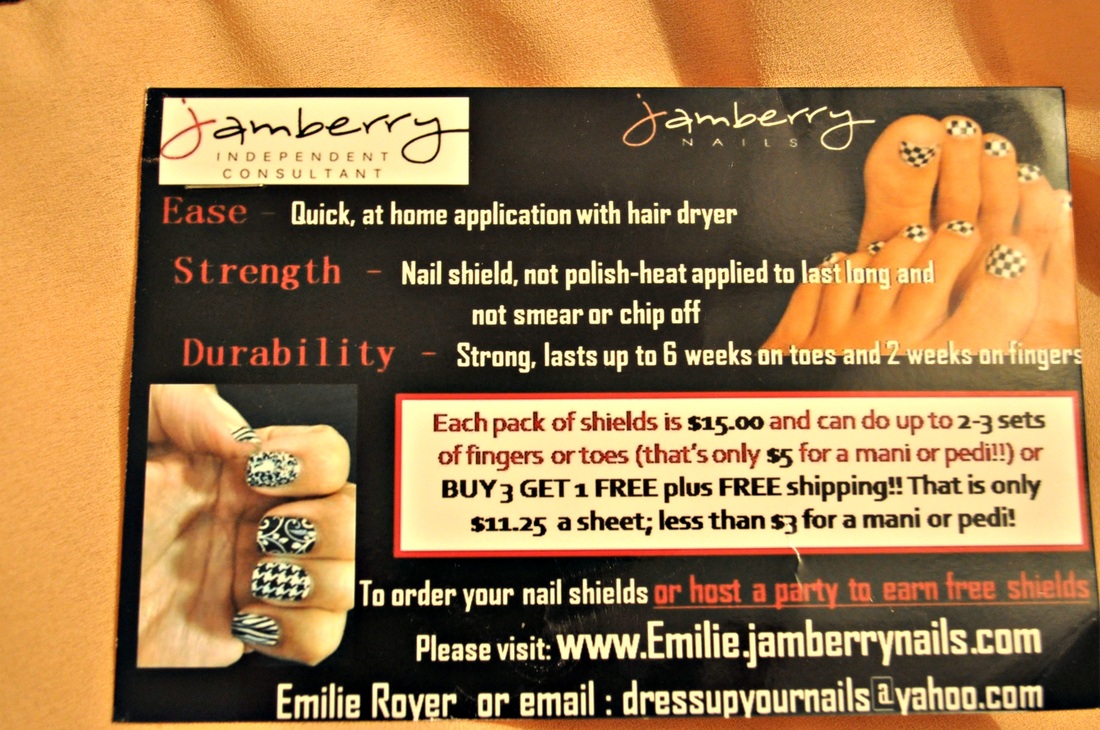
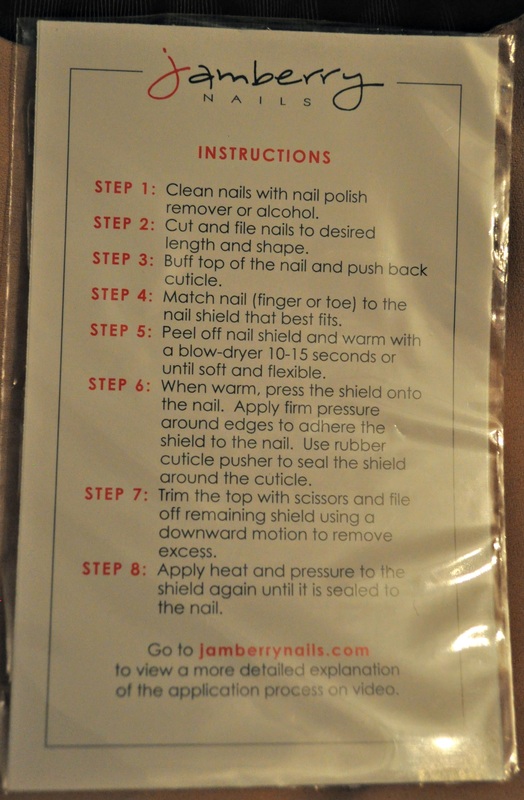
These instructions were located on the Jamberry nail site. They seem a little more descriptive than the card.
Step 1: Clean nails with nail polish remover or alcohol. (Clean, oil free nails are one of the most important steps of the application)
Step 2: Cut and file nails to desired length and shape.
Step 3: Buff top of the nail and push back cuticle.
Step 4: Match nail (finger or toe) to the nail shield that best fits.
Step 5: Peel off nail shield and warm with a blow-dryer 10-15 seconds or until soft and flexible.
Step 6: When warm, press the shield onto the nail. Apply firm pressure around edges to adhere the shield to the nail. Use rubber cuticle pusher to seal the shield around the cuticle.
Step 7: Trim the top with scissors and file off remaining shield using a downward motion to remove excess.
Step 8: Apply heat and pressure to the shield again until it is sealed to the nail. (Repeating this step several times helps create a tight seal to the nail surface and increases wear time)
Optional Step 9: For active users you can add a small amount of nail glue to the free edge to better seal the nail shield.
How to Remove: Use hair dryer to heat for 15 seconds and slowly peel from the corner of your nail
Jamberry's video directions/tutorials
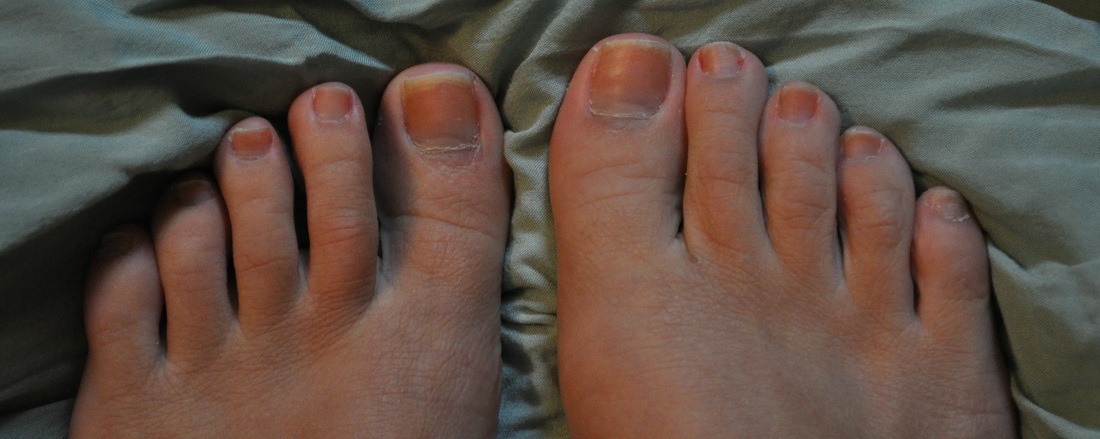
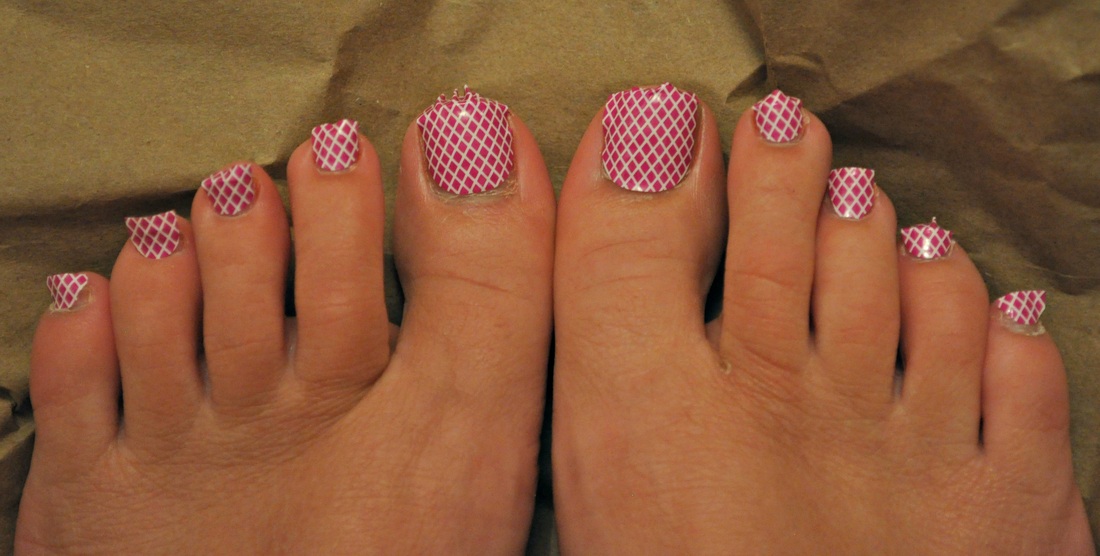
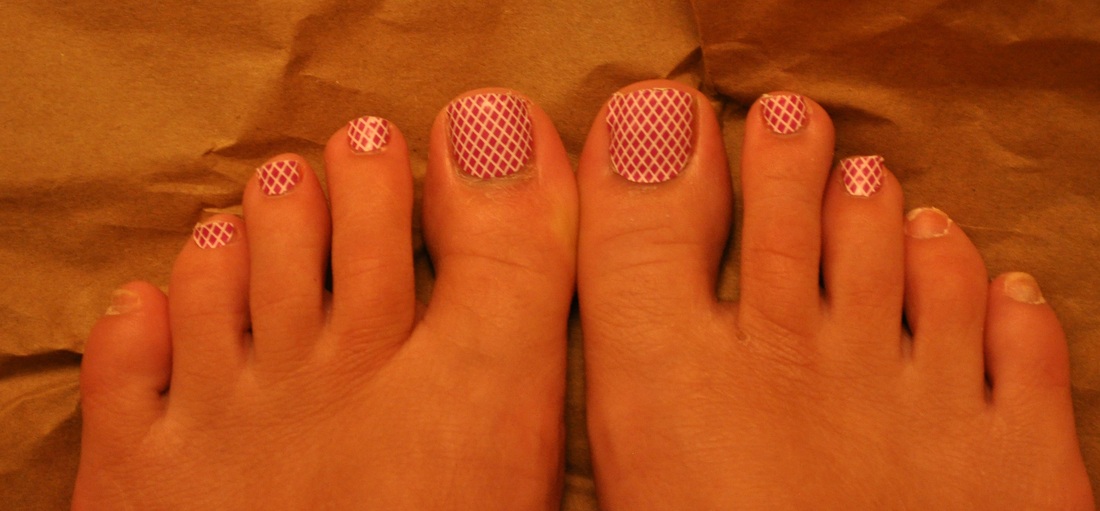
Although I highly enjoy the concept and designs, these seemed a little unpractical for my life. I work two jobs regularly, do freelancing, side jobs, babysitting, the blog, I workout daily, I have my family, my boyfriend, and sometimes I require eating and sleeping... doing this pedicure took me over 45 minutes. (not including researching the videos, instructions, tips etc...) Polishing my nails takes three minutes.
For a special occasion these would be great for me though. I may just get some for the next wedding I have to attend.
For a special occasion these would be great for me though. I may just get some for the next wedding I have to attend.
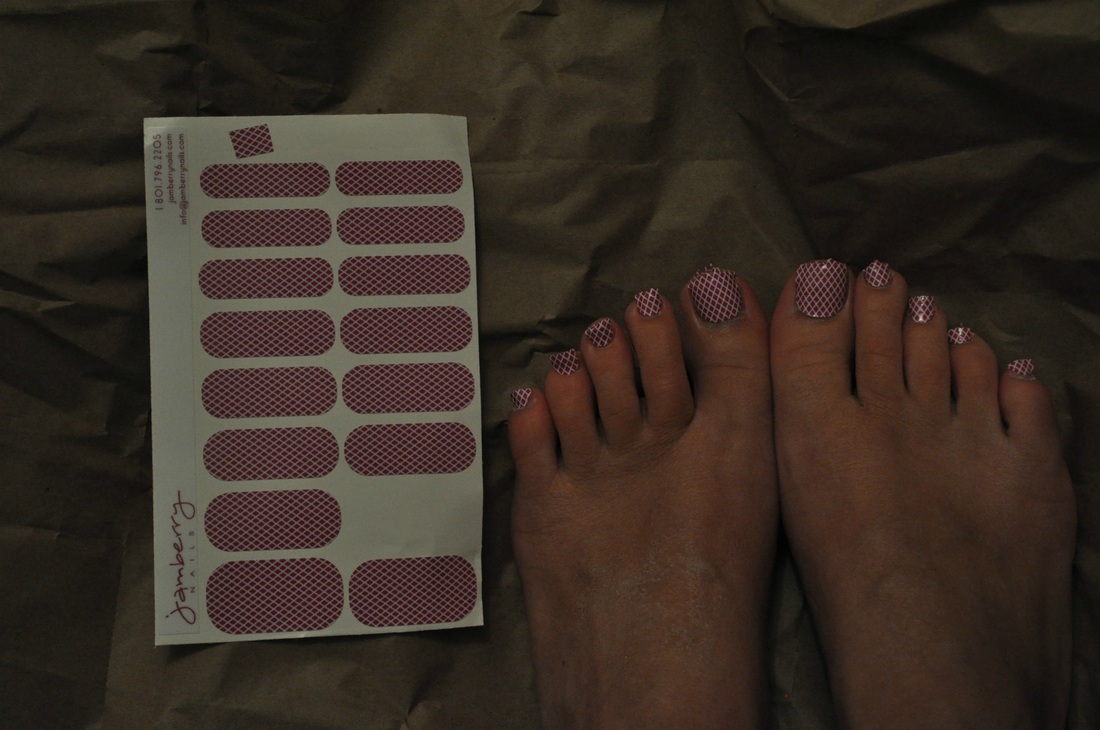
Because these are heat and pressure sensitive strips, I think my daily routine may have sped up the wear time. Daily, I have multiple shoe changings. (from running sneakers to heels, or from pointe shoes to ballet shoes. I work out a lot, so running and dancing is causing hot sweaty feet and movement of my toes in the shoes. I think my shelds may have been getting pulled and tugged on, causing them to not stick as well.
If your less active, or dont wear shoes and hosiery often theses would probably work great for you.
Please keep an eye out on our blog page for continuous updates to this post. I will continue to use the Jamberry nail shields in manis and pedis and will update pictures and thought every time.
If your less active, or dont wear shoes and hosiery often theses would probably work great for you.
Please keep an eye out on our blog page for continuous updates to this post. I will continue to use the Jamberry nail shields in manis and pedis and will update pictures and thought every time.
 RSS Feed
