"Like" the Knockout Nails Facebook Fan Page you are automatically entered to win a free Knockout Nails System which will be drawn March 1st!
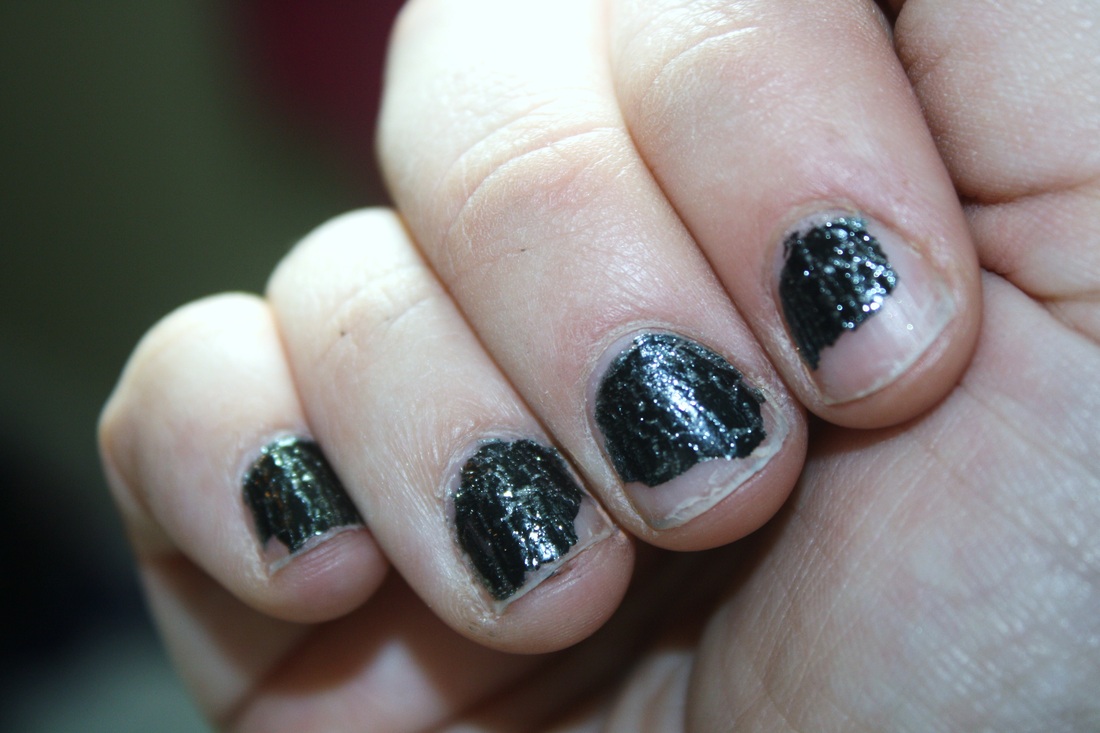
Does your nail polish look like this after only a couple days of wear? Or do your nails peel and break like mine?! Keep reading.
Knockout Nails gave me the opportunity to try out their UV Nail Hardening System! Now I have tried other products kind of like this and wasn't pleased and ended up returning it because they would peel off. But this is different and isn't a kind of gel nail that "soaks off", they are filed off when wanting to remove them. That alone tells you this stuff is good!
Also, with this kit, there is no need to redo the whole entire application when wanting to change your nail polish color. The acetone in the remover will not damage the hardener, so if you like to change your color daily, this kit is for you! Take a look below at it's contents and directions!
Also, with this kit, there is no need to redo the whole entire application when wanting to change your nail polish color. The acetone in the remover will not damage the hardener, so if you like to change your color daily, this kit is for you! Take a look below at it's contents and directions!
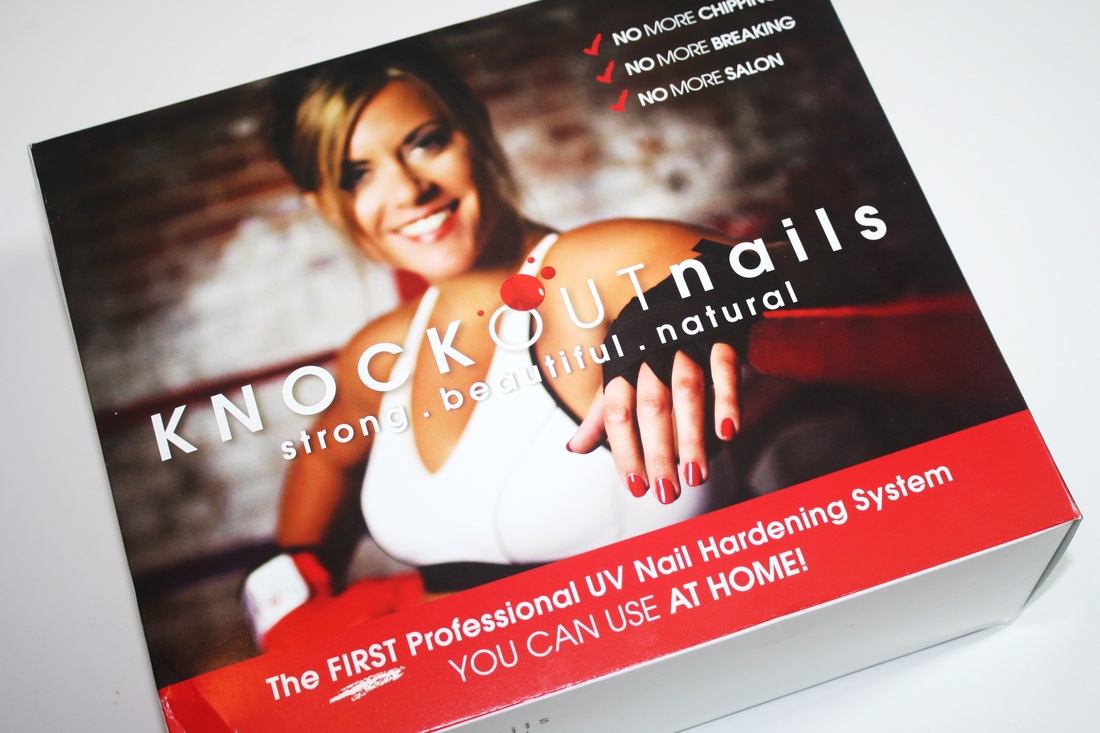
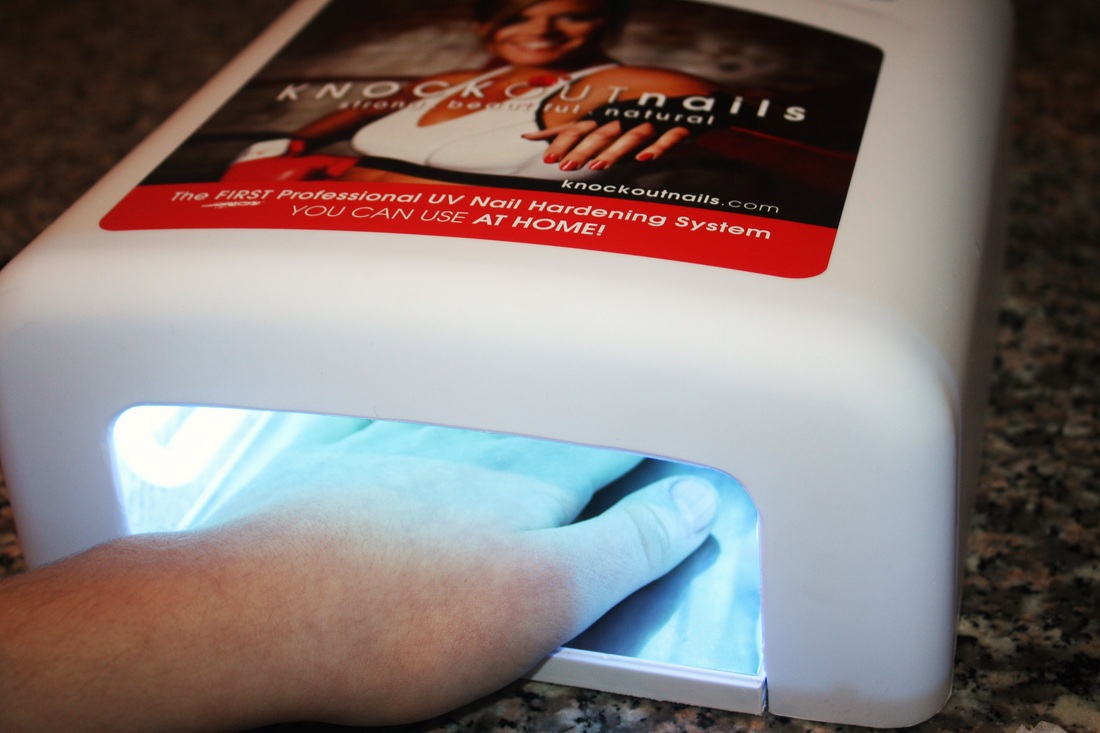
The first professional UV nail hardening system you can use at home!
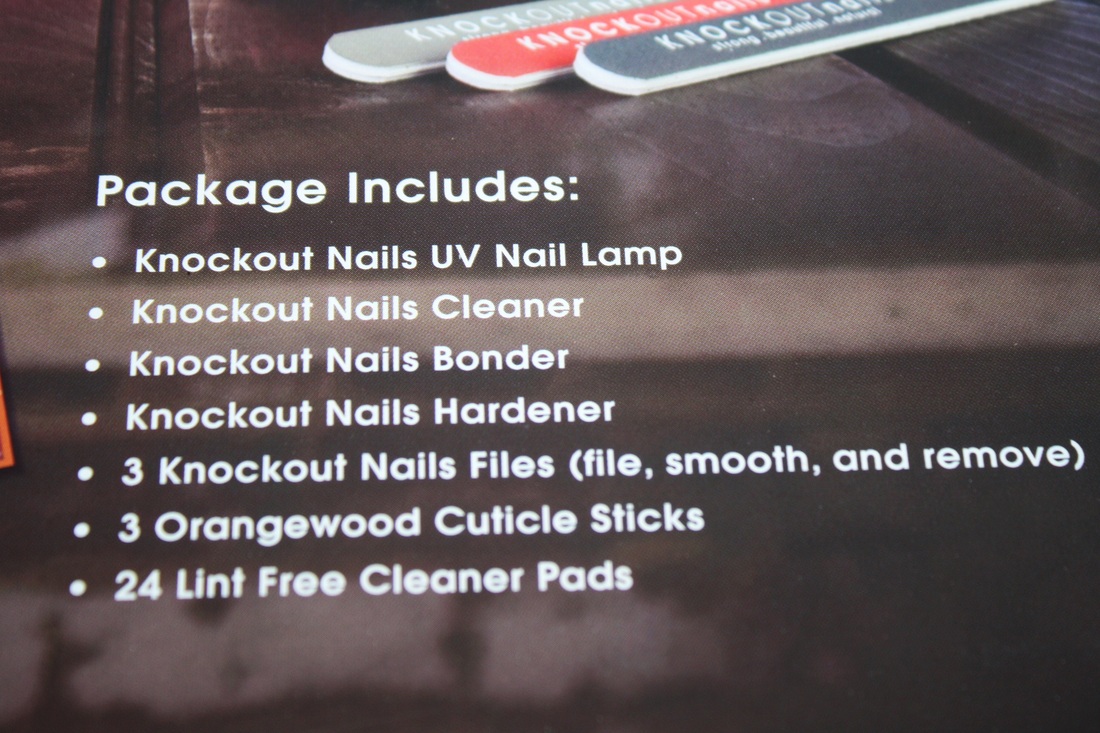
Here is what your kit includes!
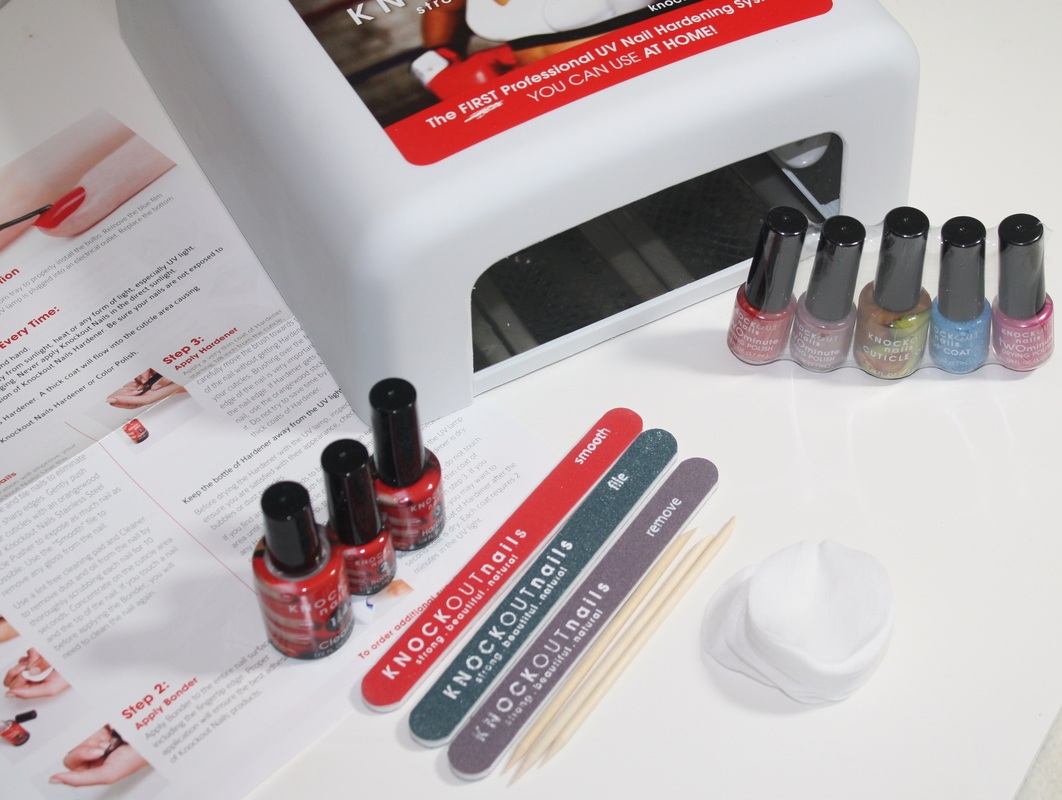
Total contents
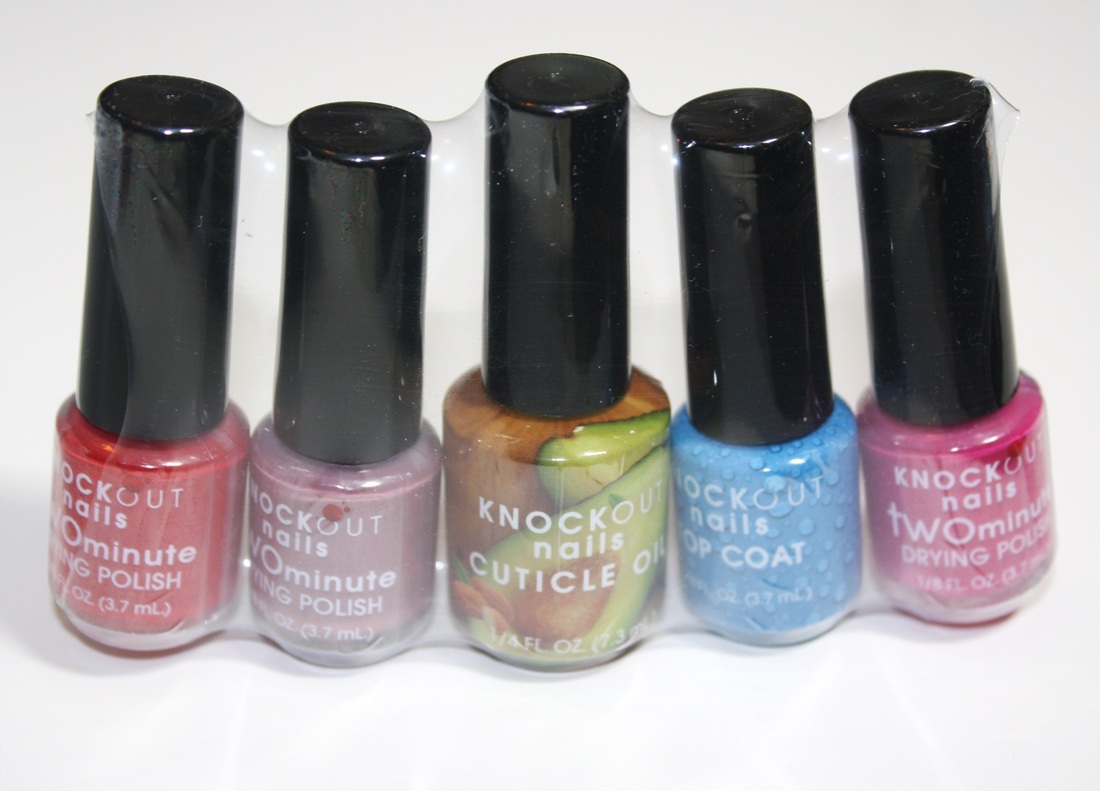
nail polish, cuticle oil and top coat
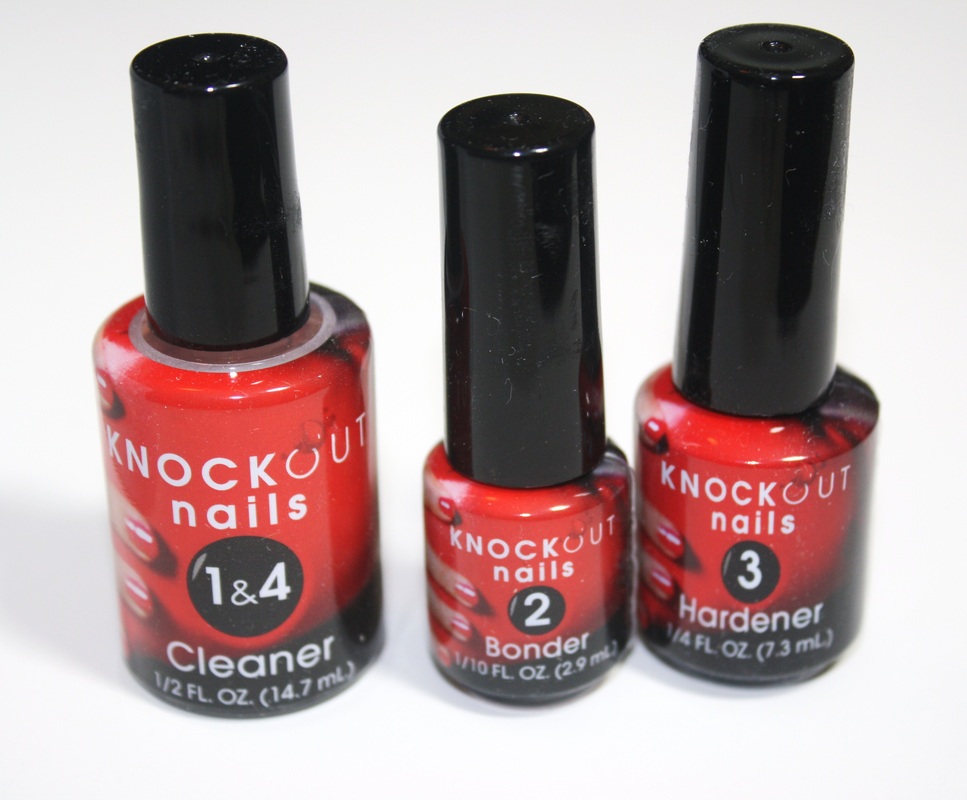
Cleaner, Bonder & Hardener
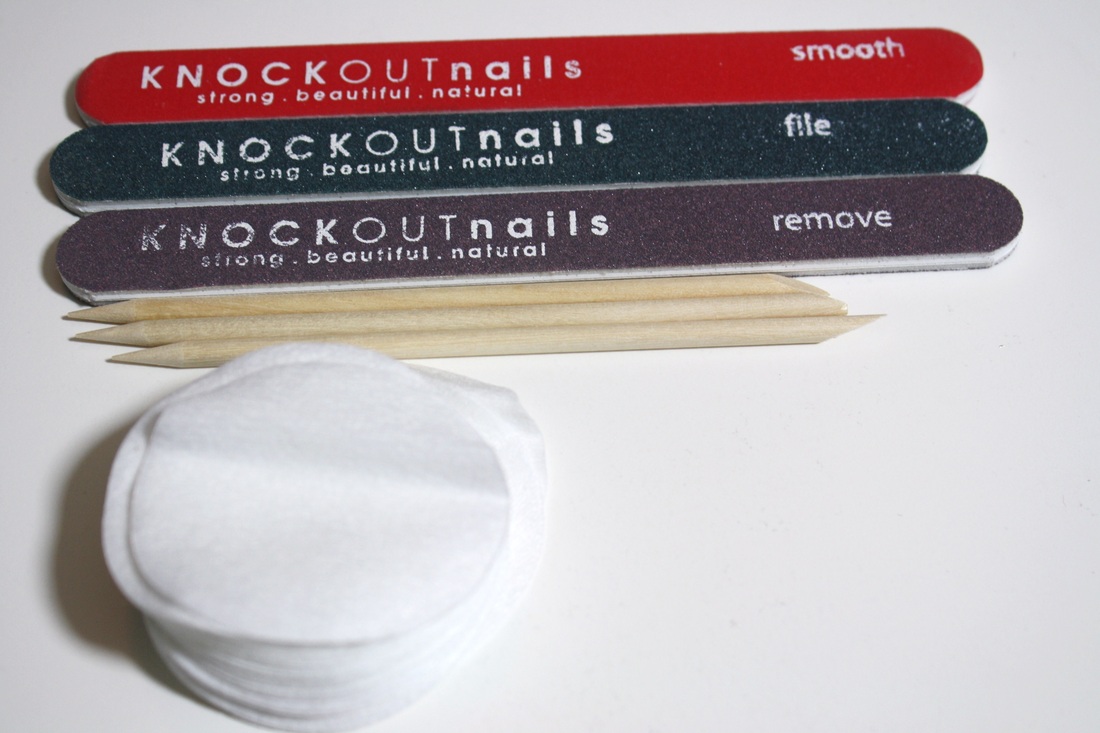
Nail files, cuticle pushes and lint free pads
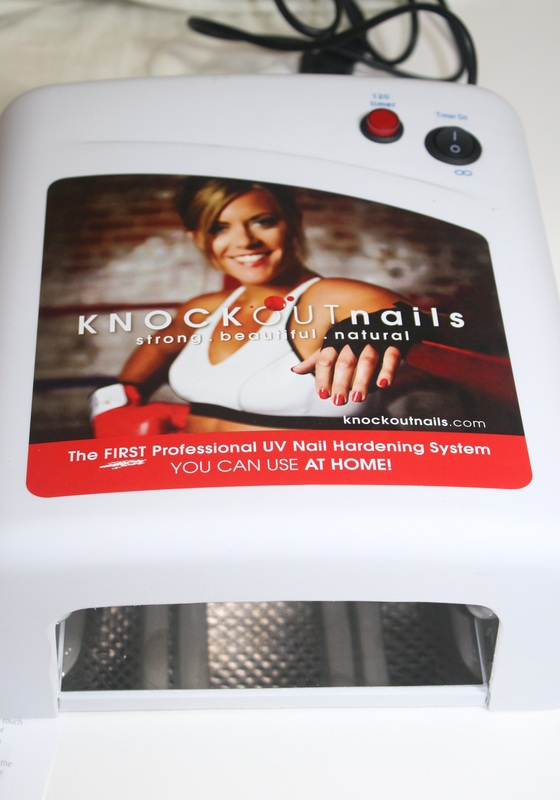
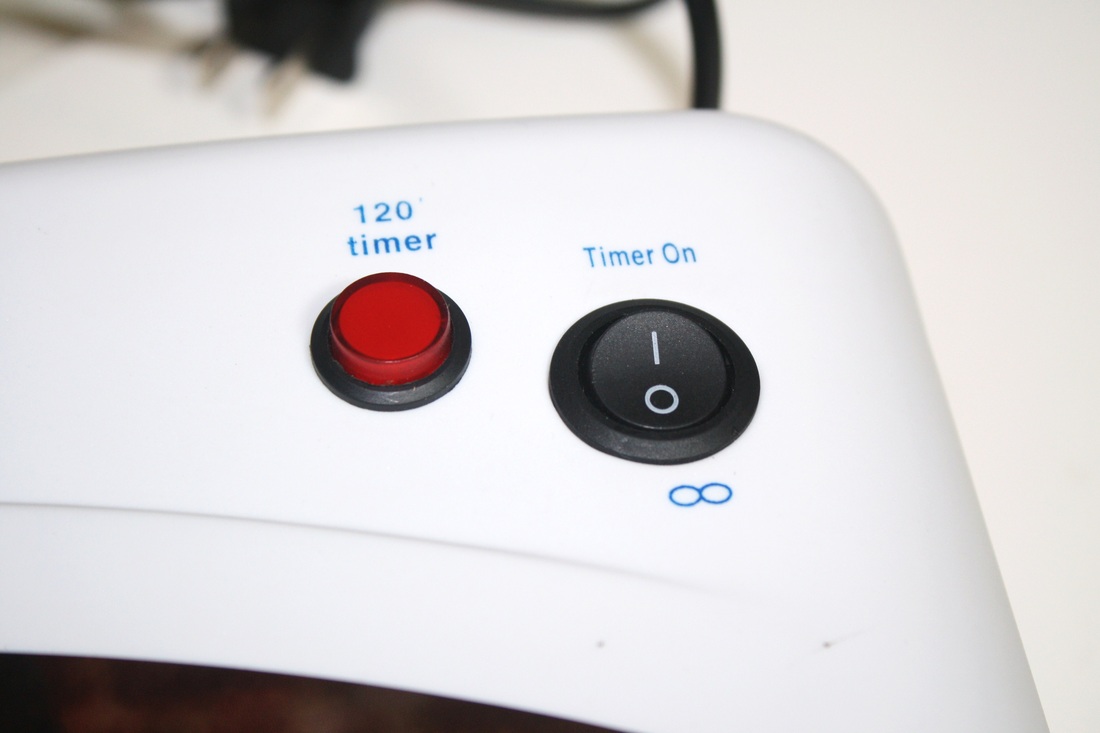
UV lamp

Before, with nail polish removed
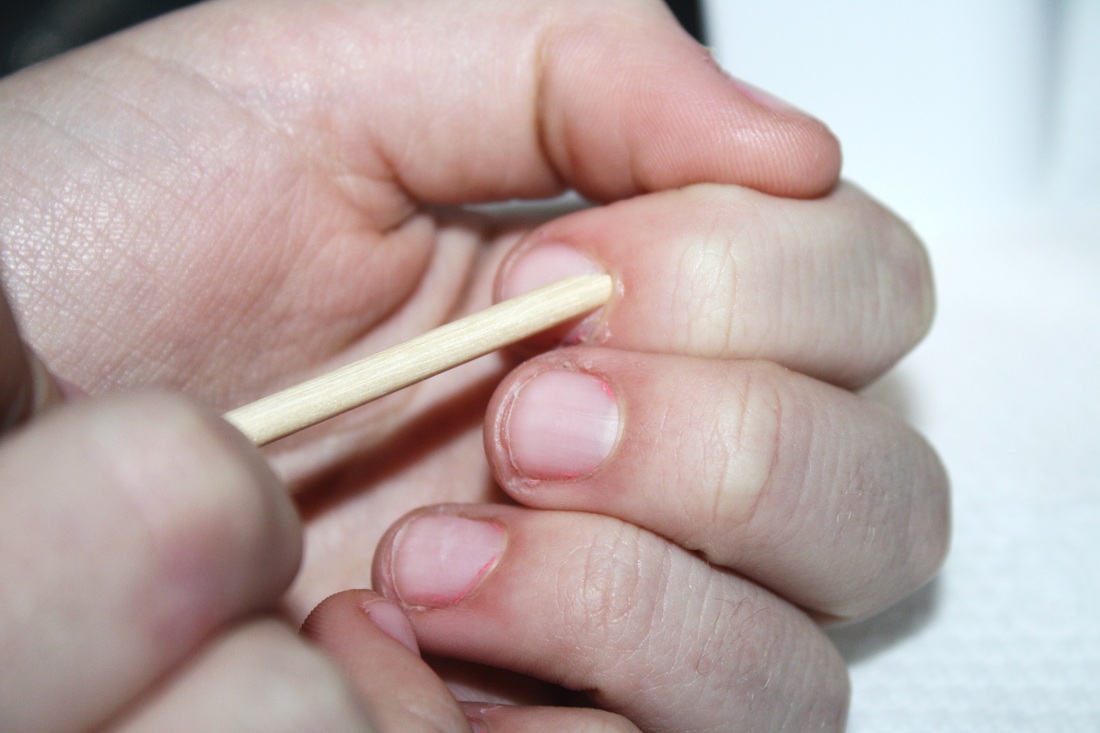
Step 1:
File your nails (not needed in my case) with the "file" to shape and file nails to eliminate all rough or sharp edges. Then gently push back your cuticles with the orangewood stick.
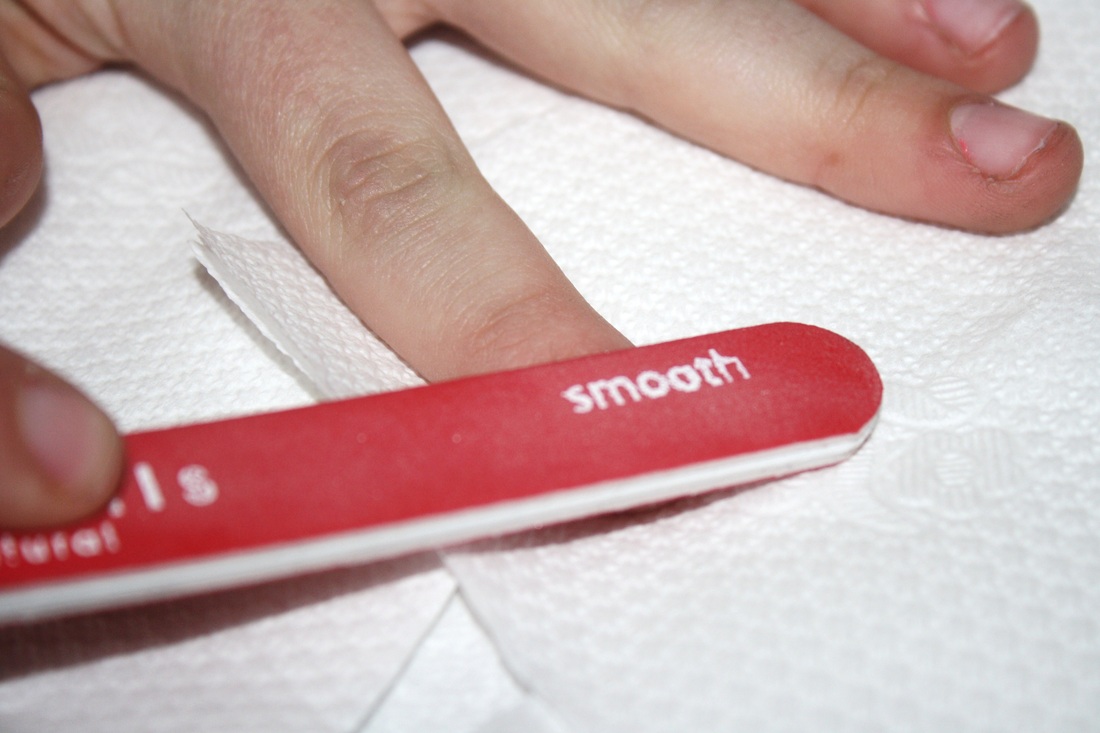
Step 2:
Use the "Smooth" file to remove any gloss from your nail bed.
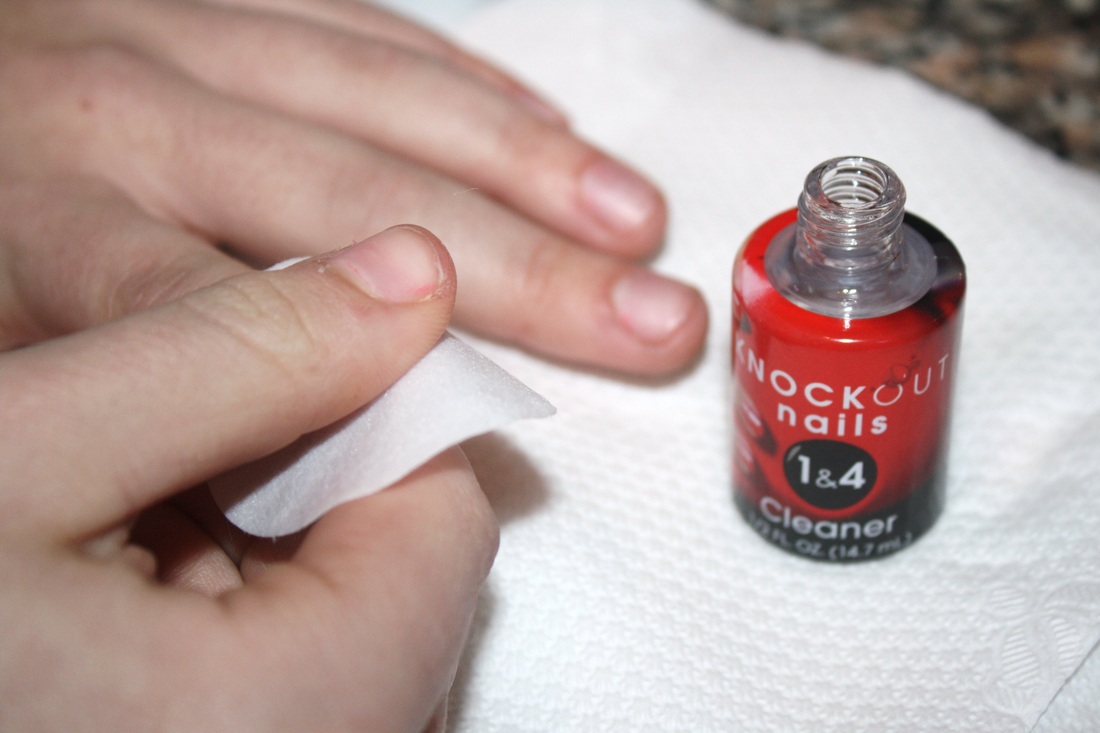
Step 3:
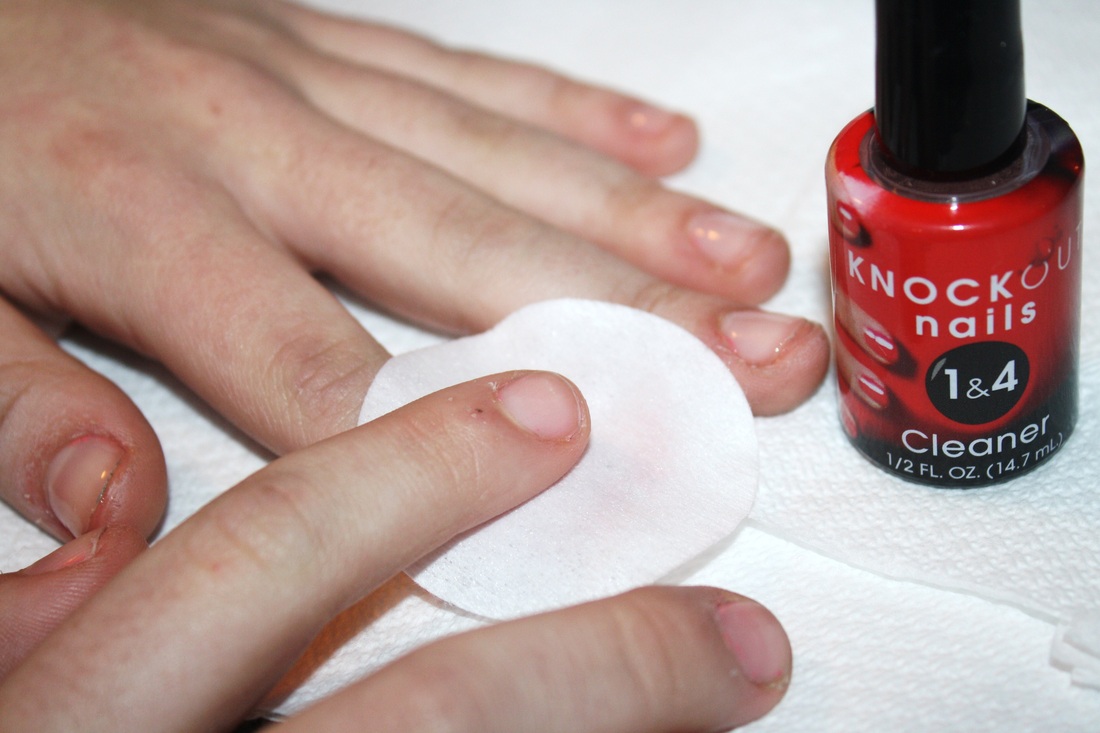
Using one of the lint free cleaning pads and the Cleaner, remove dust and oil from the nail by scrubbing each nail for 10 seconds. DO NOT touch your nails before the next step, if you do please clean them again.
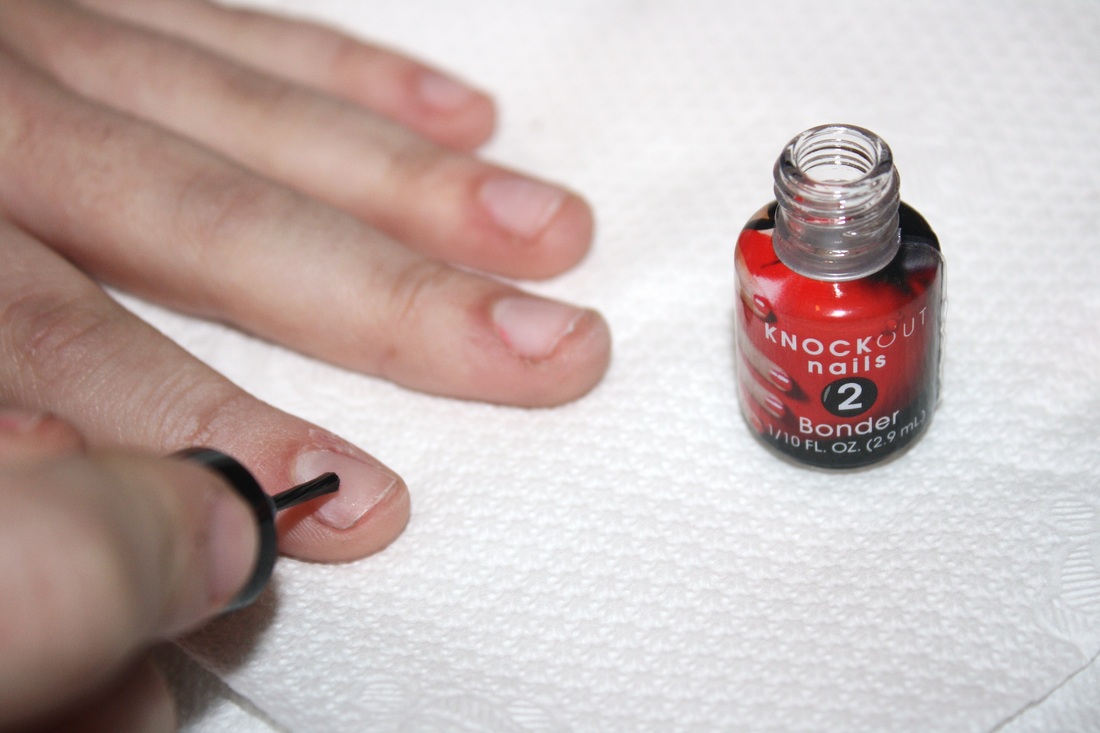
Step 4:
Apply the Bonder to the entire nail surface, including the fingertip edge. This will help the hardener adhere to the nails.
Step 5:
Apply a VERY THIN coat of Hardener starting 1/8 inch from the cuticle, and brush towards the edge of the fingertip, without getting any on your cuticles. If you happen to get any Hardener under your nail use the orangewood stick to remove.

Step 6:
Place your hand in the UV lamp and press the red button. The light will turn off when the Hardener is dry! Then go back and apply one more thin layer of Hardener and place it under the UV lamp again. (May do a third time if your nails are really fragile)
Final Step:
Your nails with be tacky feeling. Use the cleaner and the same lint free cleaning pad used in the other step to remove the remaining adhesive on the surface. Now your good to go and not worry about your nails breaking!
Note: You can also apply the nail nail polish that is provided OR any other brand of nail polish after and dry using the UV Lamp and it will last three times longer! For better adhesion use the Bonder before applying polish!
Note: You can also apply the nail nail polish that is provided OR any other brand of nail polish after and dry using the UV Lamp and it will last three times longer! For better adhesion use the Bonder before applying polish!
Finished Results:
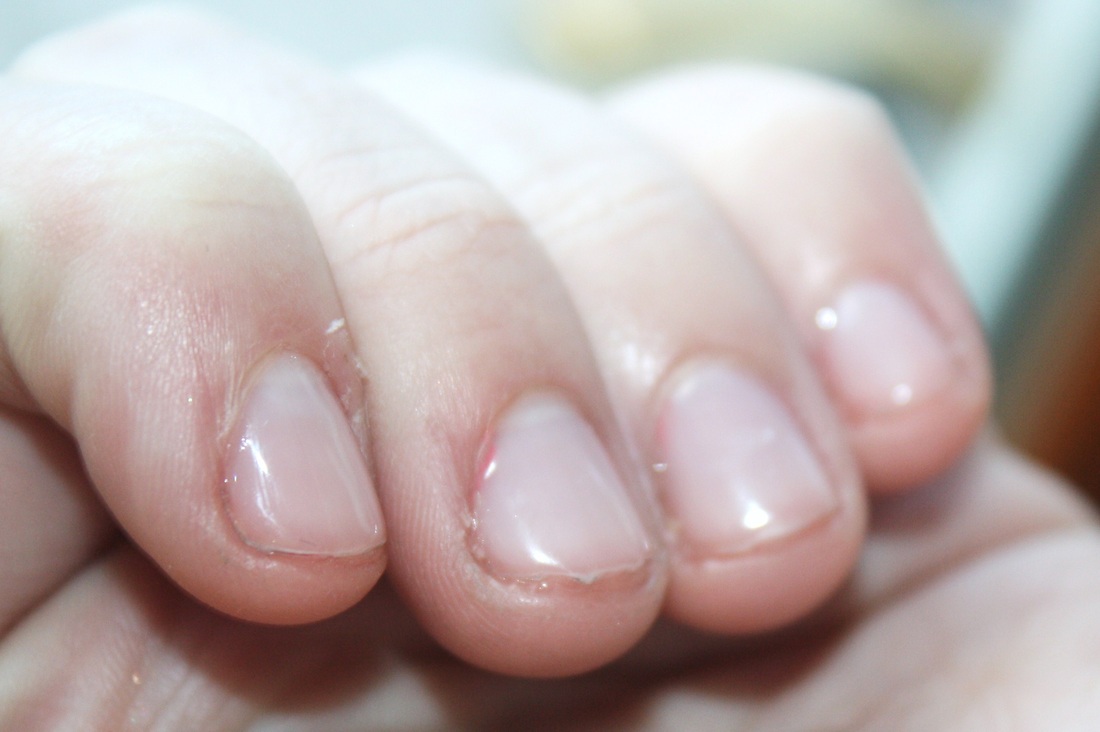
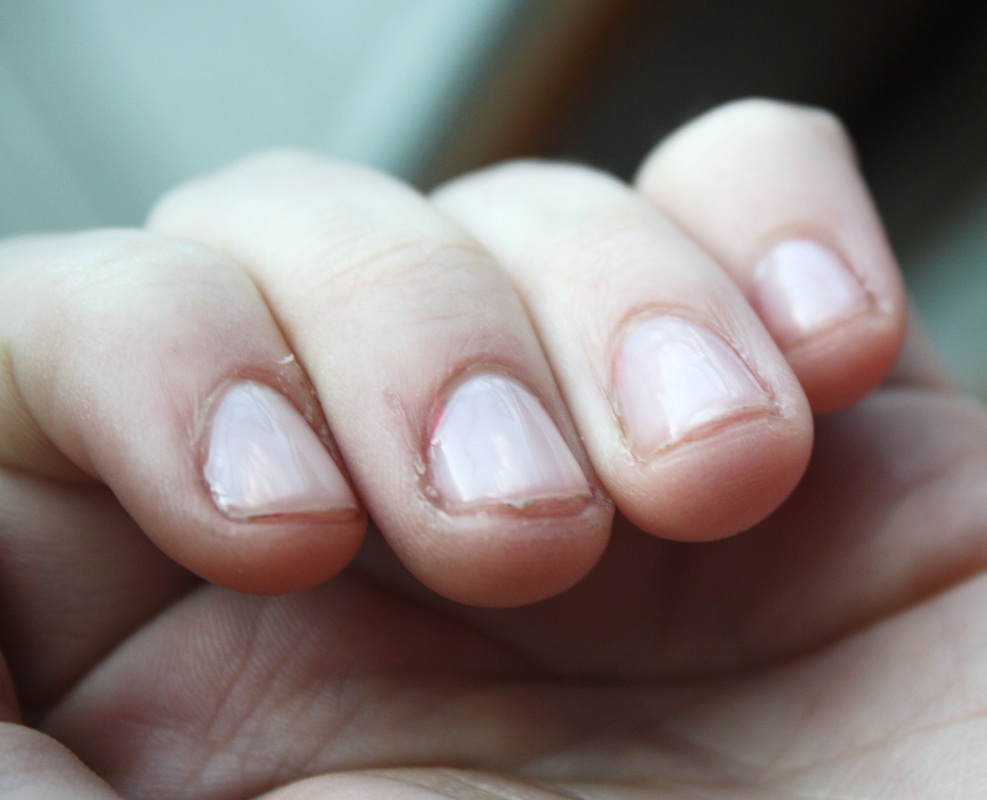
As you can see in the finished product, the nails look thicker and shinier! I love how healthy they look and that this stuff does not peel off as easy as gel nails do. They have stayed shiny for a week now and haven't chipped off! I am obsessed with wearing it even without nail polish because of how healthy and strong they look!
10 out of 10 for me!
Get yours kit here: Knockout Nails
USE CHECKOUT CODE KONBEA TO RECEIVE A KNOCKOUT NAILS SYSTEM FOR ONLY $79.97. THAT'S $40 OFF THE REGULAR PRICE OF $119.97! THIS OFFER IS GOOD THROUGH MARCH 1ST.
10 out of 10 for me!
Get yours kit here: Knockout Nails
USE CHECKOUT CODE KONBEA TO RECEIVE A KNOCKOUT NAILS SYSTEM FOR ONLY $79.97. THAT'S $40 OFF THE REGULAR PRICE OF $119.97! THIS OFFER IS GOOD THROUGH MARCH 1ST.
 RSS Feed
