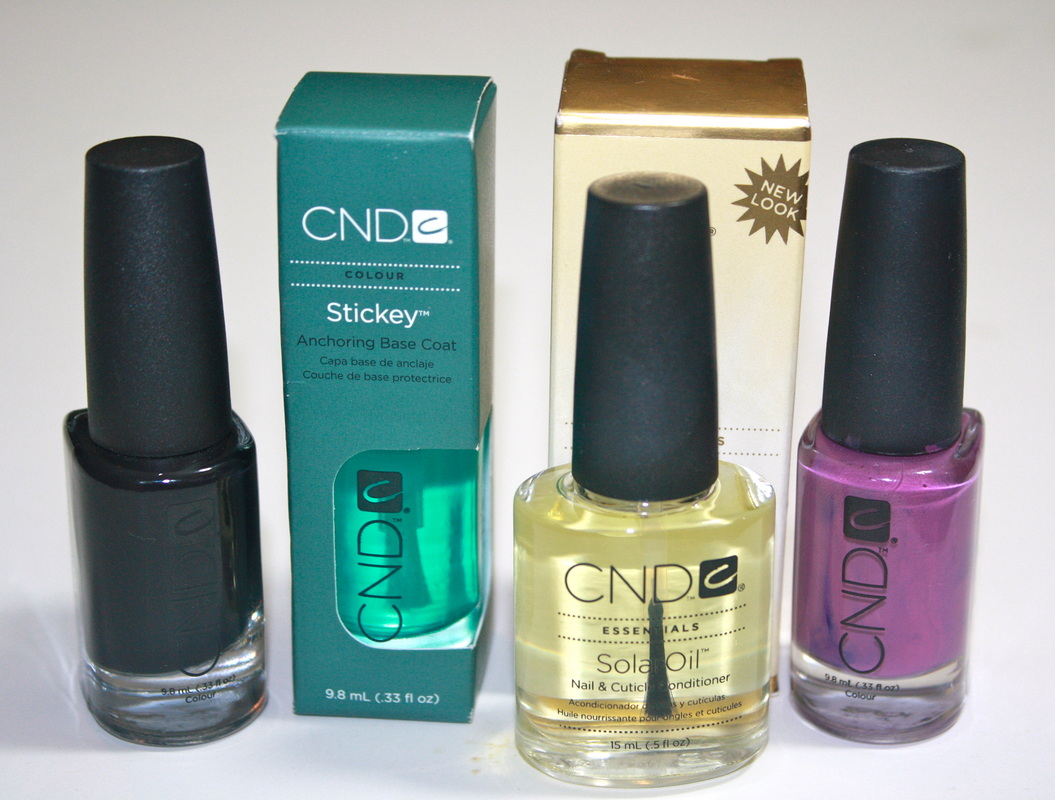
Treat your nails!
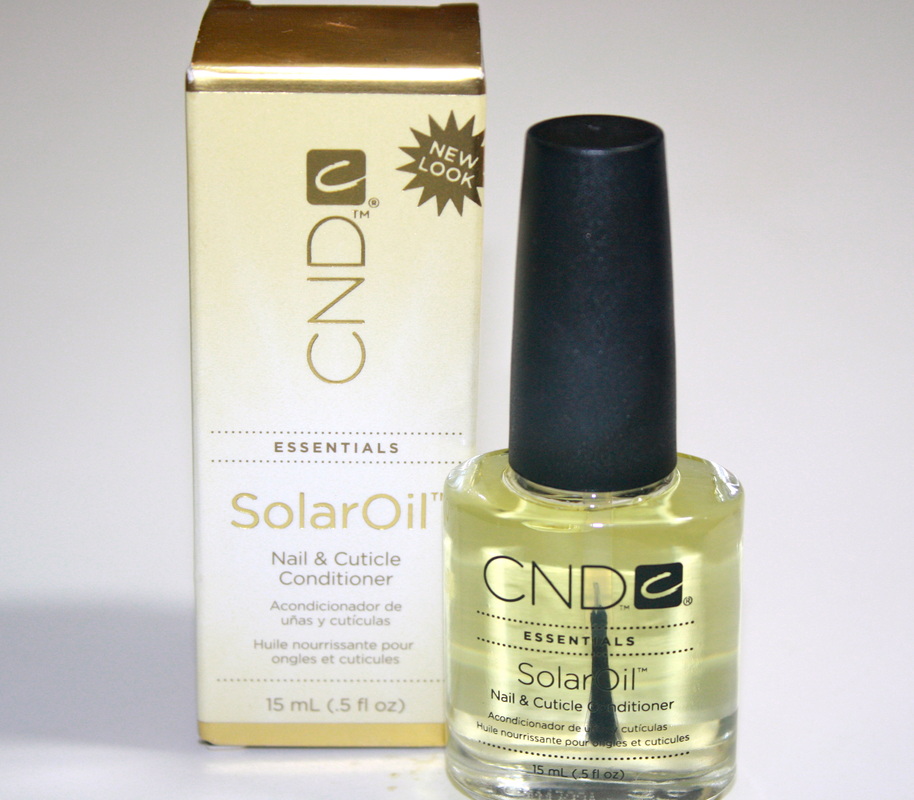
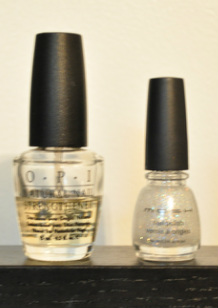
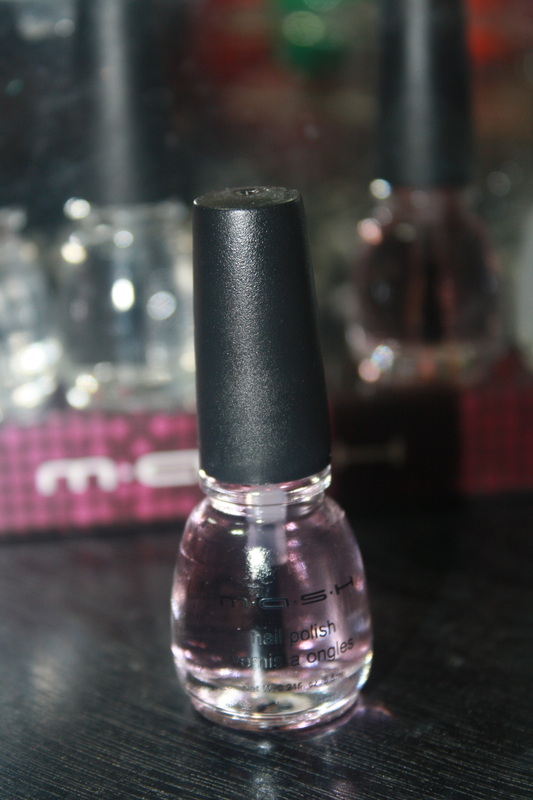
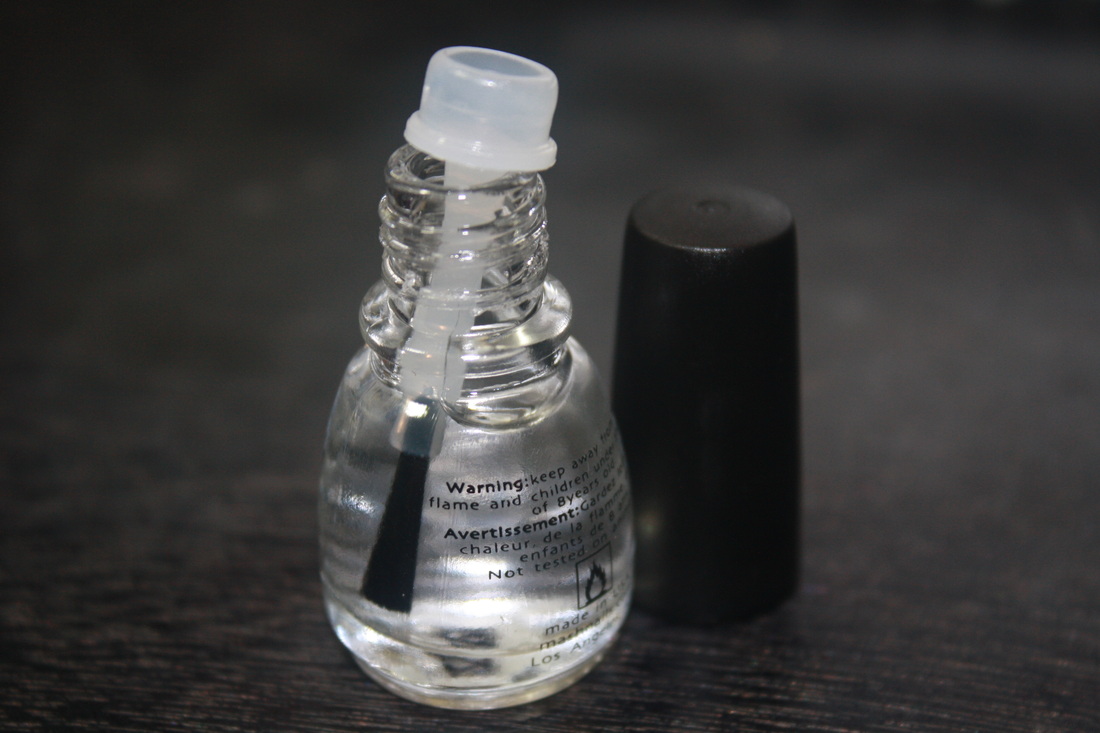
CND's SolarOil described as "A synergistic blend of naturally light oils and Vitamin E, designed to deeply penetrate and protect skin and nails." It contains Jojoba Oil and Vitamin E which nourishes your nail and cuticles. It comes in three different sizes (1/8 oz, .25 oz & .5 oz). The one I have here is the .5 oz bottle that comes in a nail polish like bottle. With an easy to use brush applicator. I have been using this daily because my nails peel and it can look very visible and also my cuticles sometimes tend to dry out and look unappealing. When using this light sweet almond scented oil, it instantly penetrates the nail and skin providing nourished healthy looking nails. Not only for my natural nails but this is great for acrylics to especially when they are growing out, this oil will keep them in good shape! Don't stop there, I use these for anywhere my skin gets dry and it works great! Just a fair warning, don't put your fingers in your mouth after, didn't taste well. Haha! 
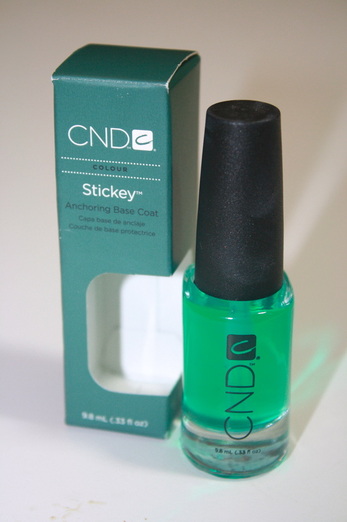
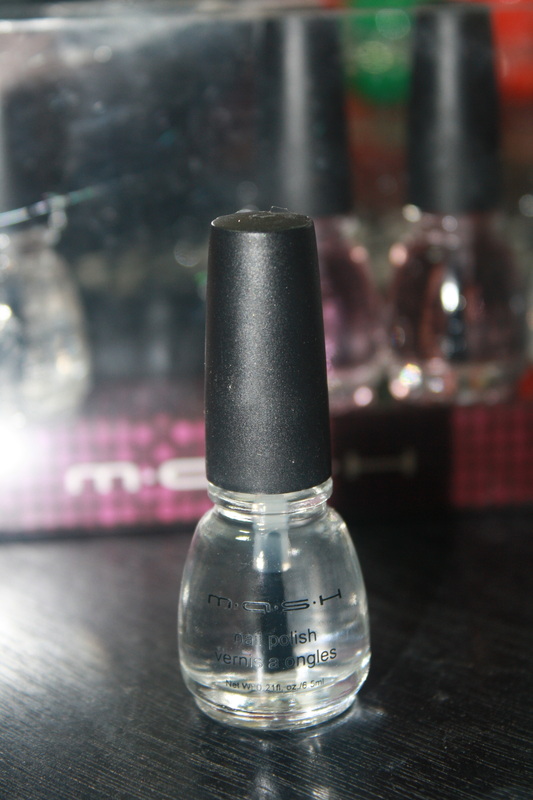
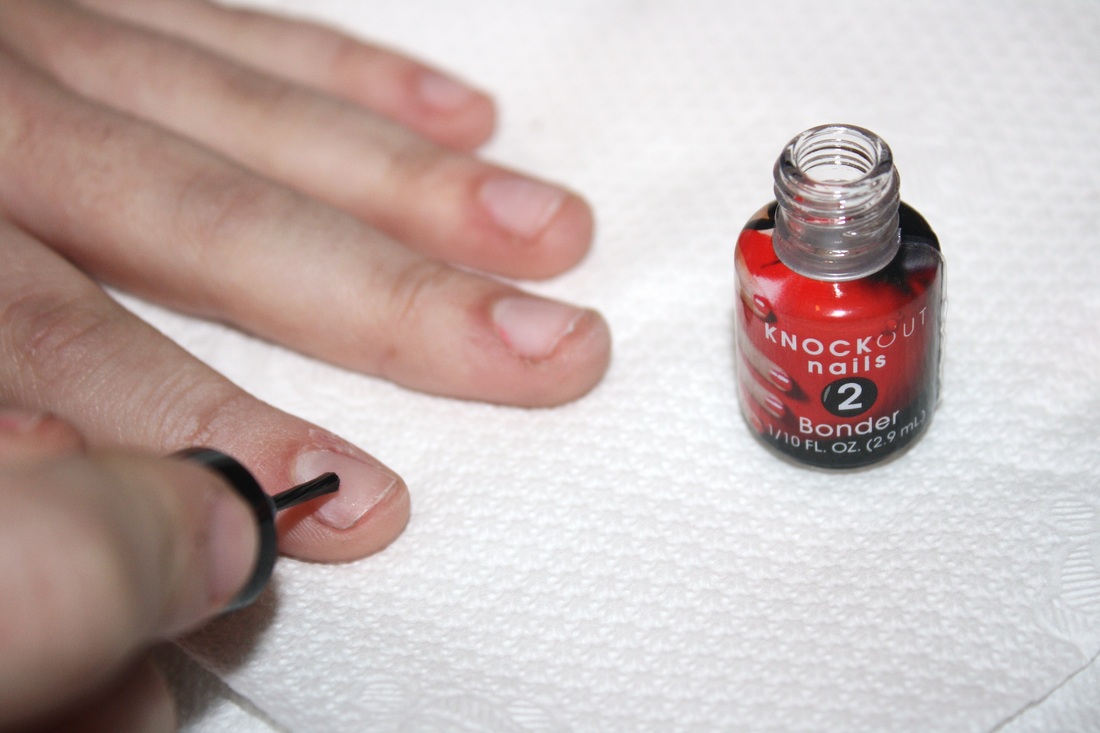
CND Stickey Anchoring Base Coat is described as "a soft, sticky 3-free base coat for healthy nails." Now I usually don't use base coats to make my color last longer but just to prevent the color from staining my nails. That's because my nail polish usually chips off in a day no matter what. The Stickey base coat is a 3-free formula does not contain Formaldehyde,Toluene or Dibutyl Phthalate (DBP). So it's easy on your nails, which is a plus for my peeling and constantly breaking nails. 
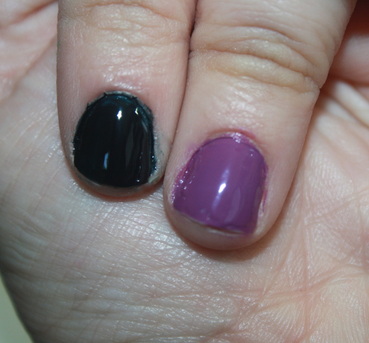
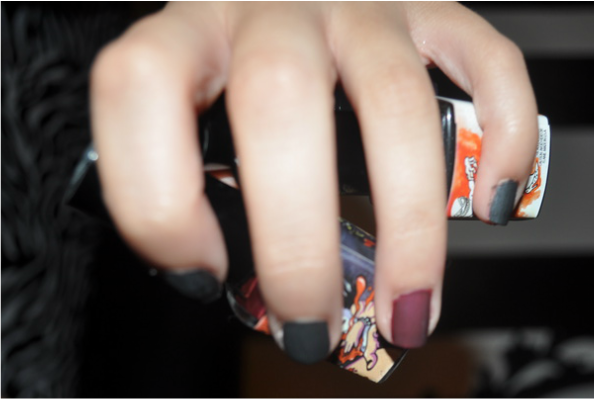
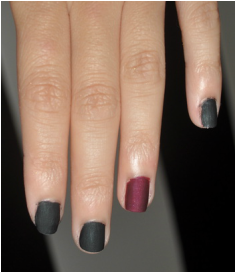
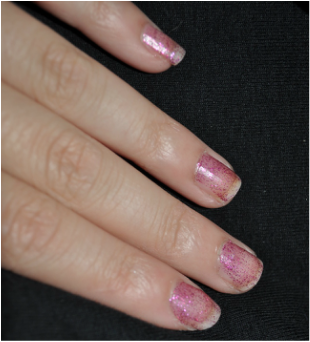
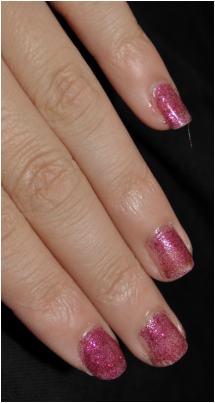
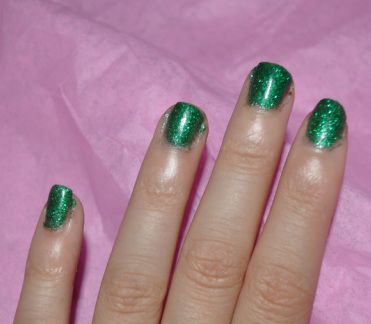
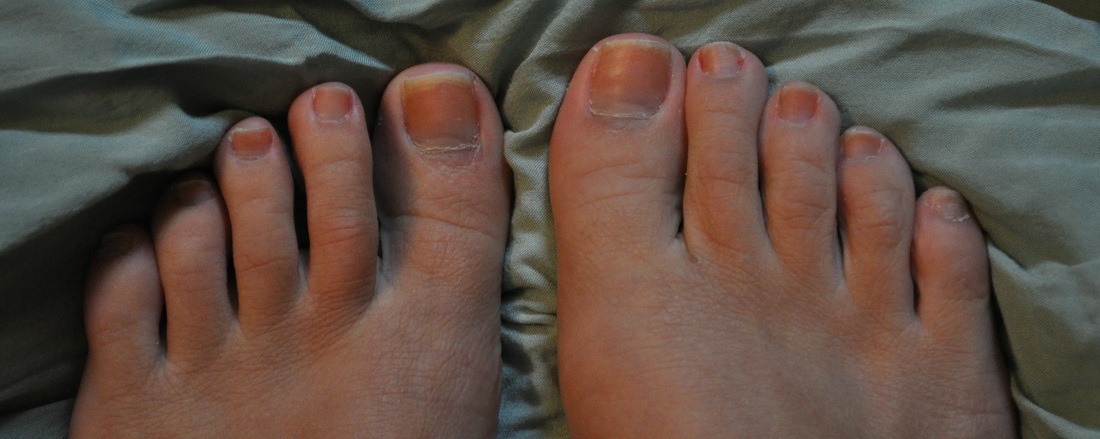
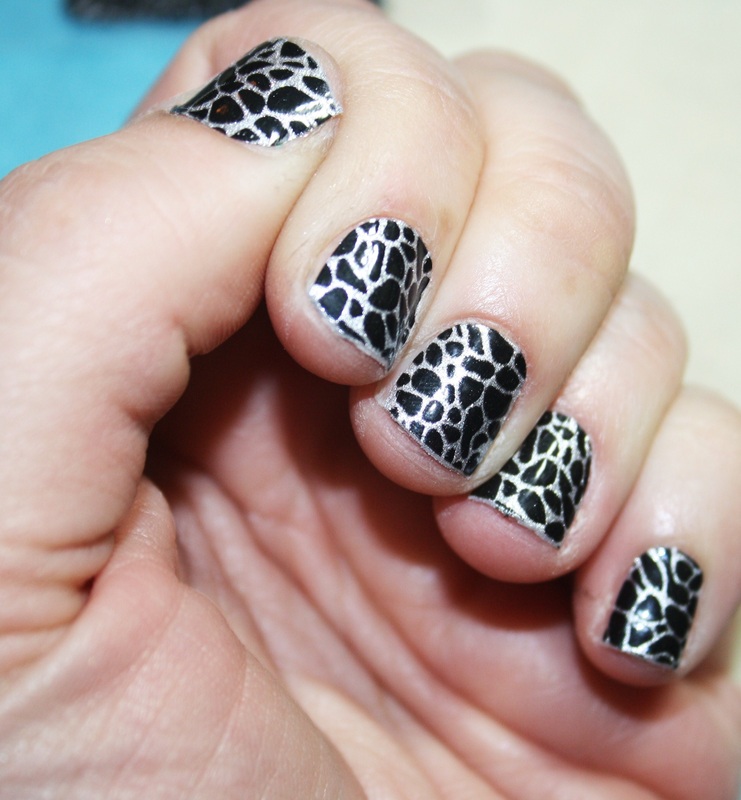
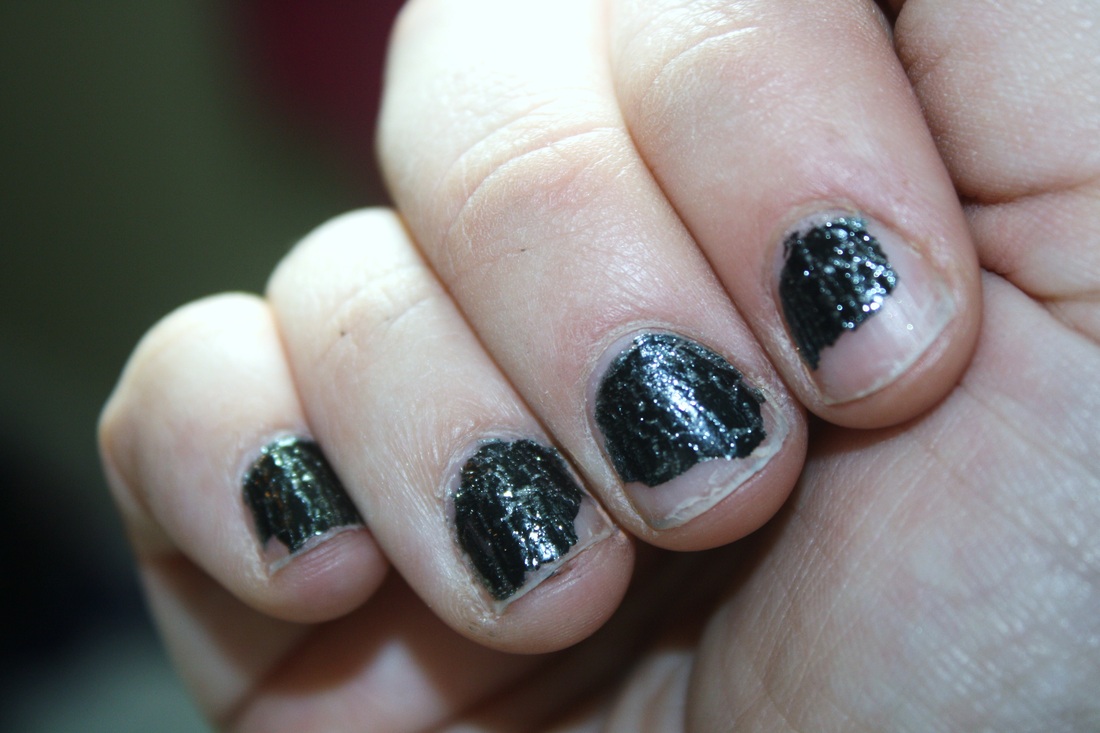
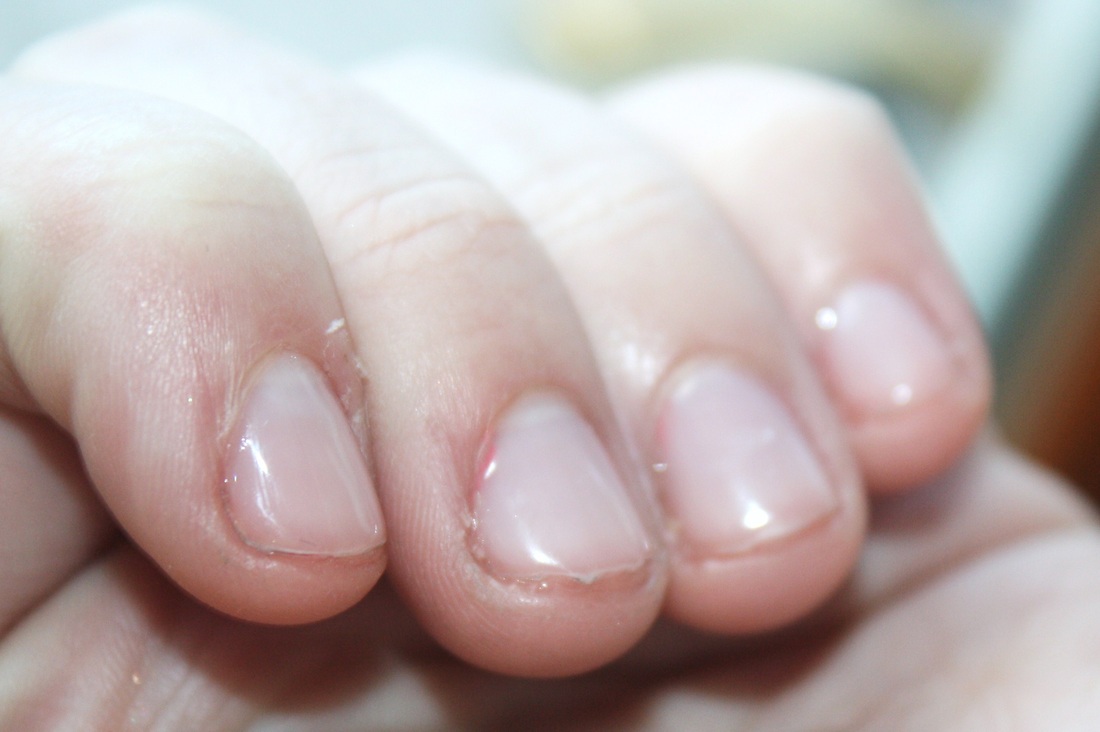
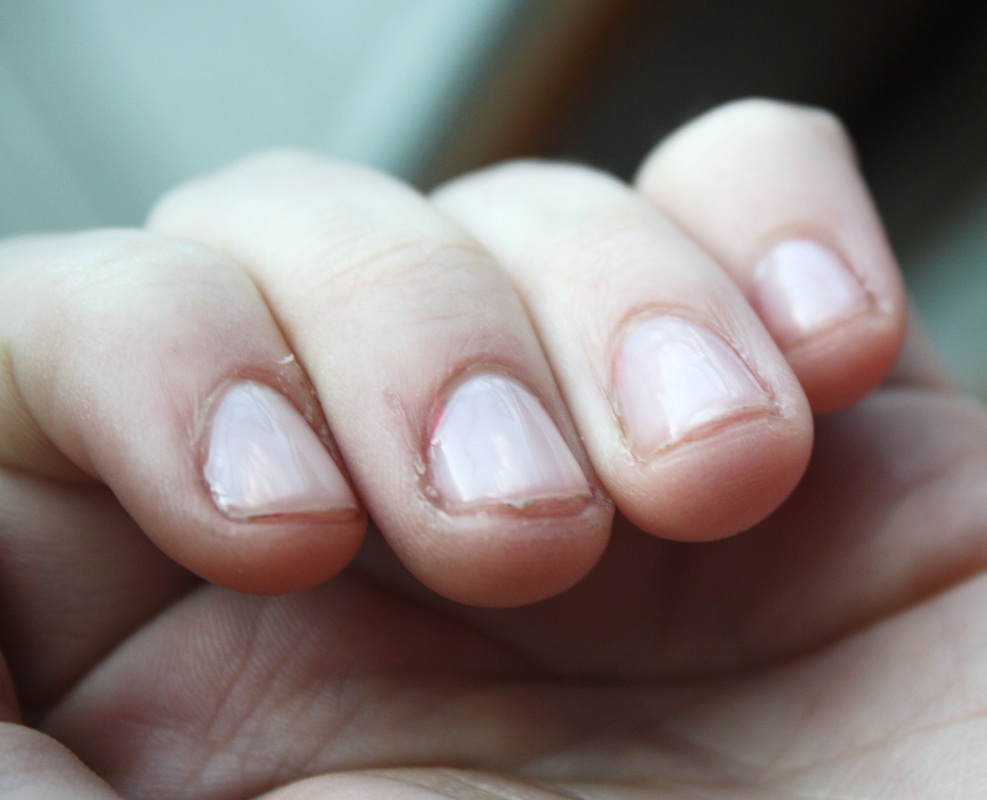
It dries a tiny but tacky which is where they get the name "Stickey" and that's what really helps the nail polish adhere better to your nails. You can also use this perfectly with nail enhancements as well such as acrylics. I was very pleased with this base coat and actually impressed that my nails had barely chipped after 5 days. To me it was impressive since I rarely even wear nail polish unless I have acrylics on because I can never get it to stay on! Here is a picture of what my nails looked like about 5 days after applying nail polish using the Stickey Base Coat.
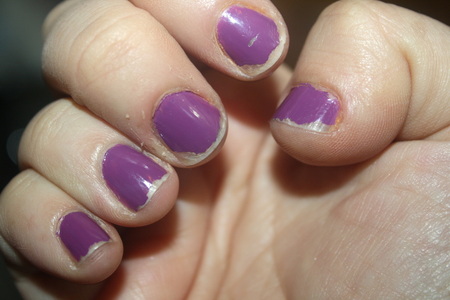
After about 5 days, minimal chipping using the stickey base!
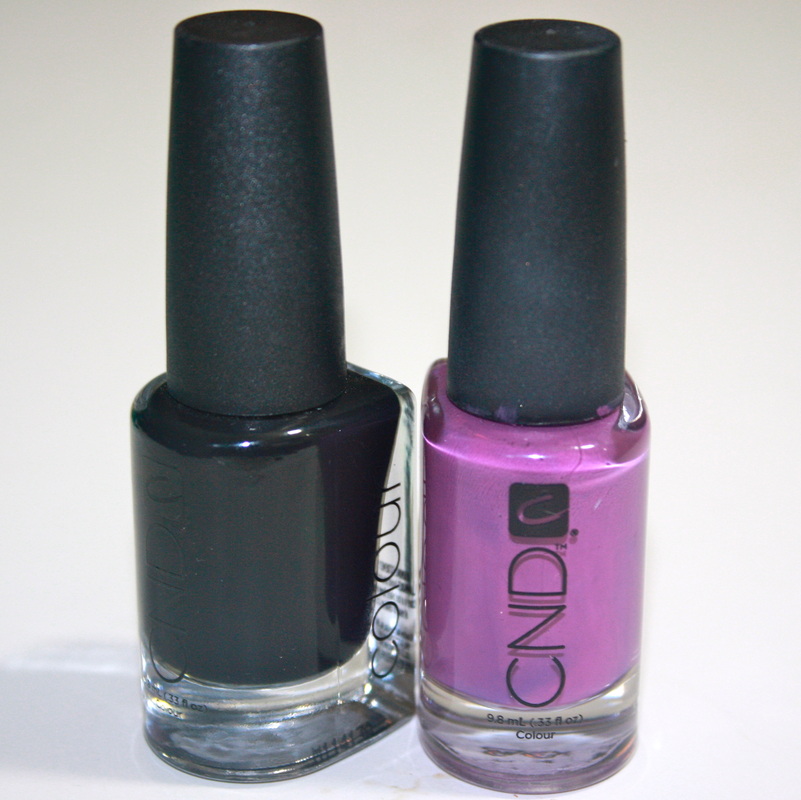
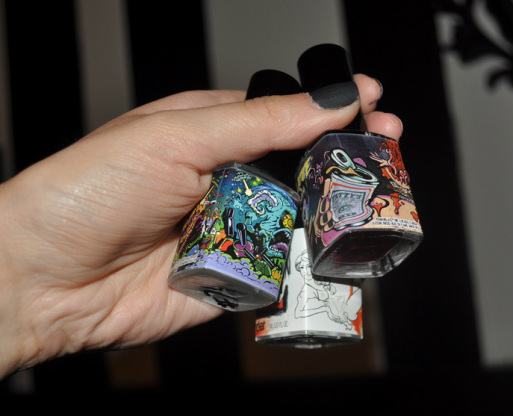
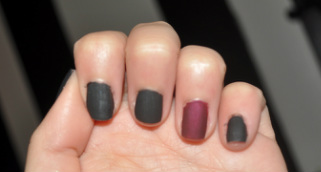
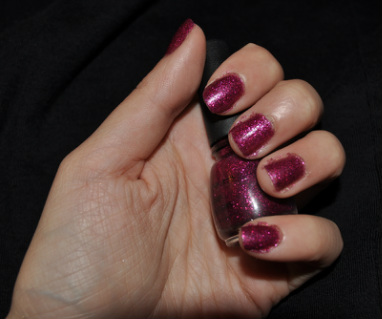
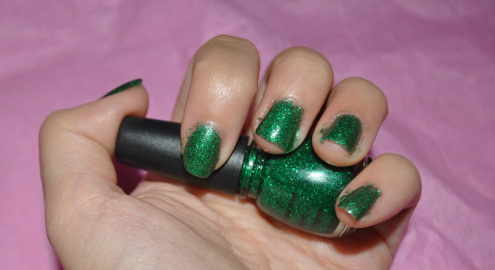
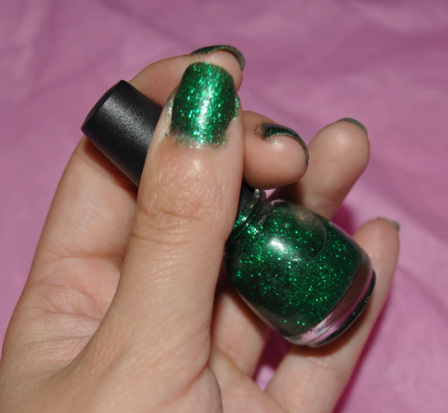
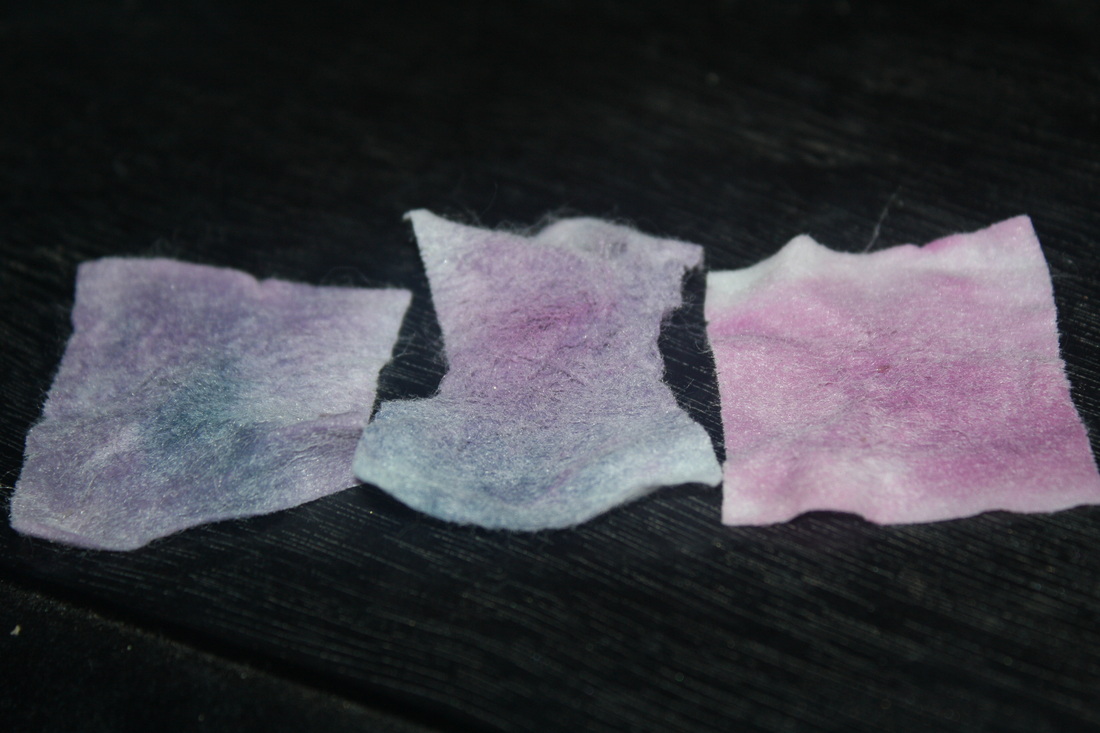
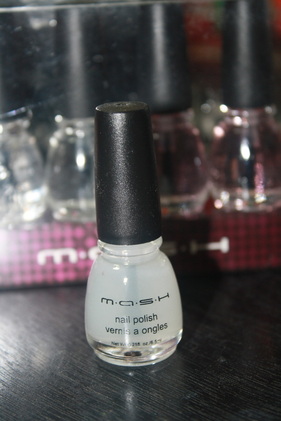
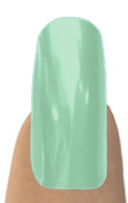
CND's Nail Colour is described as "professional-quality, 3-free nail creme Colour. Just like the Stickey this does not contain Formaldehyde,Toluene or Dibutyl Phthalate (DBP). They also have a choice of 50 shades! So there's no way can you not find a color you love! The two colors I was trying out were in Oilslick and Eclectic Purple. Although I wish I had some fun summery colors but these are very nice colors I will for sure put to good use! (Swatch below) 
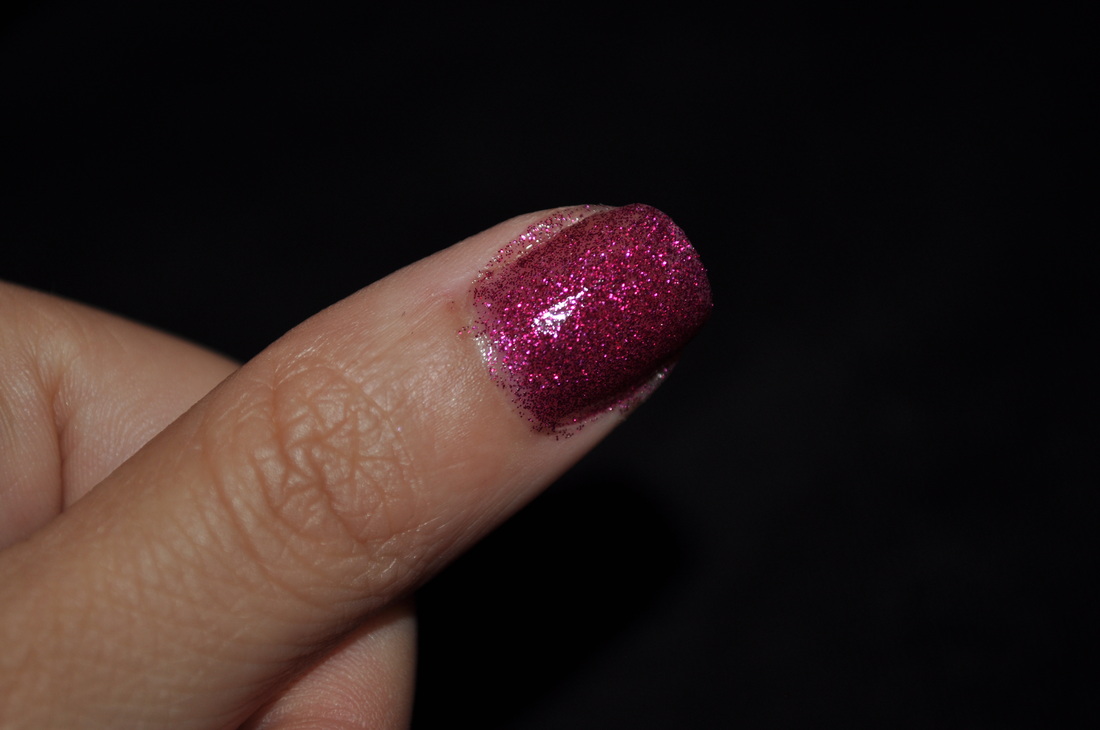
First I need to let you know my favorite thing about this polish is the application. It's consistent and goes on super smooth. Also that this is the first nail polish that I have used that only needs ONE coat. Yes... when painting my nails with this I only needed one coat and it was enough. This cut down on my drying time and on the amount of time it takes to do my nails because I don't have to do two or three coats. 
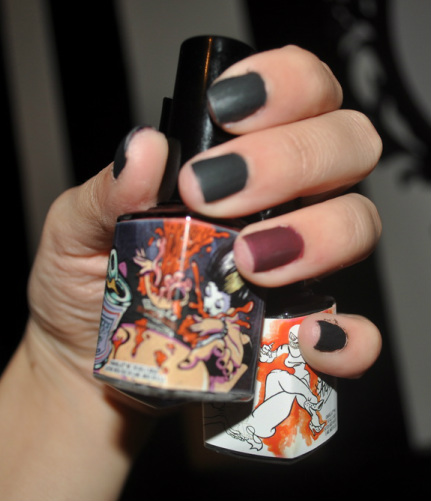
I found the brush to be easy to work with and maybe a little bit wider than most brushes which I find easier to use. It has a flat top to the brush which is okay but I like brushes that have a little taper to them because personally it's just easier for me to get a neater application near the cuticles. Overall, I love love love the formula to this polish and will love to soon get some bright fun colors!
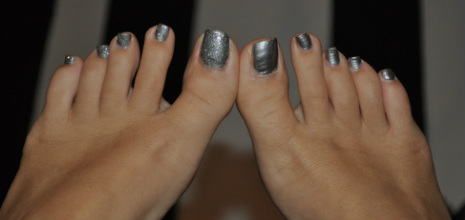
Excuse my messy paint job!
Please note that this review is in the making. As we use things, we sometimes post up partial reviews and pictures. Full reviews will be posted on Facebook.
Please note that this review is in the making. As we use things, we sometimes post up partial reviews and pictures. Full reviews will be posted on Facebook. MASH Glitters Nail Polish Set Item No. 858079002490
"The nail art experts at MASH are rolling out the red carpet for you with their new set of GLITTER polishes , in 6 eye catching colors. Strong shades Green, Red, and Purple give the perfect jewel nail effect , going perfectly with light and romantic looks while Gold,Silver, and Crystal tones are full of whimsy and charm.This polish creates a dazzling effect on the nails and are designed to give a full coverage effect for nails that will really make a statement. For a festive look glitter nail-polish can be just the ingredient you needed.Its time to give your nails the GLAM, GLITZ, AND GLORY they deserve. This glitter nail polish set can't be beat. ( .21 Ounces Each)"
Nailtini makes these little acetone-free soaked nail polish remover squares called Cocktail Napkins. Cute huh? Goes great with their brand name! They also contain cuticle conditioners that clean your nails and get them in prime condition for their next nail cocktail. This container comes with 40 squares! Before Here you can see my nails with polish on them. Plus they have a strengthener, ridge filler and base coat! All you have to do is take one of the little squares and hold it on your nail for a few seconds then rub off all the nail polish. These worked surprisingly really well! I only ended up using three squares total for both hands! So you I'm estimating you can take off about 13-14 manicures with just one container. I used 3 wipes total for both hands After I found them to work great, I didn't have to rub on my nail hard either to take off all the polish either. These are great to save time too because you don't have to constantly keep applying polish remover to cotton balls. I also plan to put this in my purse incase a nail starts chipping because I'll just take it off with one of these squares and reapply the polish because I don't know about you but I can't stand when a nail is chipping. Painting over the tip where the paint has chipped off doesn't work for me either so the travel aspect of this is great. They can get a little messy though. After you get off a good amount of polish on one square it can get over your skin a little but doesn't stain it. So that's something to be careful about, put down paper towel. I do absolutely love the smell of this though. It's citrusy and doesn't dry my nails and skin out like regular polish remover does. Oh an not to mention there is no more getting yelled at because my dad doesn't know when I'm doing my nails because he can't smell that harsh polish remover stench that gives him migraines! $12/packFind these, nail polish, lip products and more at their website!Visit their Facebook
My nails were in some serious need of help. I own a bunch of colors of polish but don't have anything else really. And then I wonder why I get so mad because my nails are always chipping. That's why I got excited when MASH Nails let me try their Nail Polish Treatment set (only $9.99!!!) In this set you get a ridge-filler, quick dry top coat, non-yellowing top coat, strengthener, wet look top coat and milky base coat and all are in a .2 oz bottle. Ridge-filler A ridge-filler? I never used this before so had to look up exactly what it was. Well wouldn't you know, it fills in ridges on your nail bed. Haha. If you have bumps or grooves on your nails, a ridge-filler is going to help smooth all that out along with priming your nails for a application of nail color. This was my favorite product out of the set. I could even wear this alone without any color just because it smoothes out my peeling nails and gave a clean appearence. All I can really said is I wish I found MASH's ridge-filler a lot earlier. Now I refuse to put polish on with out it! Quick Dry Top Coat My bottle of "Quick Dry Top Coat" came with that little glob of dried up something on it and was stuck to the packaging. It peeled off fine but still has that stuff on the bottle. It was weird because nothing was leaking or cracked. Oh well! Anyways, I used this on top of my color for when I'm rushing and don't want to sit around a few extra minutes to have my clear top coat dry. That's when I usually screw up my nails is when the top coat is drying, so with this being a quick dry formula, it saves me from having to repaint a nail that I smudge! This was very quick drying and always nice to have because you don't know when your gonna need a quick nail color change and can't wait for regular top coats to dry. Non-Yellowing Top Coat Another product I have not owned but wish I did before! This "Non-Yellowing Top Coat" is perfect for those who are in the sun or go tanning!! You spend all that time carefully doing your nails or getting them done. Don't mess it up by having the UV Rays changing the color of your polish. This reminds me of a hat for your nails. You apply it after your polish dries and it protects your color. This is a must have for French Manicures too because when I went tanning a long time ago, the tips used to change to a more yellow color. I'd also even reapply after a few days. Strengthener Now this is something I needed. I put this on before I do any other kind of polish on my nails. My nails are soft and weak and if yours are to then a strengthener is what you need to get your fingers on. Do not use this if you have brittle nails, from a little research I found that brittle nails need a moisture treatment and protective coatings. So for me I was happy to have this in my MASH kit! Wet Look Top Coat Now I am a fan of the shiny/"wet" nail polish look. Don't get me wrong I like trying matte colors too, but my go to is a shiny wet look. And this does it for me. I do have like 4 other top coats but the size of this one is perfect for me to keep in a zipper pocket in my purse and have on me when I need to reapply a layer if I notice chipping occurring. Milky Base Coat As with any nail polish routine, if you want a little more wear out of your polish you need to use a base coat. This particular one in this set is a "Milky Base Coat". This base protects your nail bed from dark color nail polish. Dark colors without using a base could stain your nails making them not so cute and hard to cover up. So I always use this base coat to ensure that my nails don't look like I dipped them in kool-aid after I take off a dark red color. Not only that it has great adhesion so when you apply a color it has something to grip to and prolong your manicure. I also found this one to dry quickly so I could get right on to the color! The only issue I had with this was on two of the bottles the brush kept coming apart from the handle. I was brushing on the top coat and it just came apart. I imagine a little super glue would do the trick though!
Set of 6 Treatment Polishes - $9.99
Have you ever heard of Jamberry Nails? A Jamberry nail consultant recently contacted us asking us the same question. Had we heard of it? NOPE!
Who is that consultant? Her name is Emilie Royer. Emilie is a Director at Jamberry nails. Emilie is a California stay at home mother of four, who is celebrating her 10th wedding anniversary this June. In her free time she enjoys cooking, baking, crafting, spending time with her family and the occasional small shopping spree. ( Who doesn't?! ) She loves what she does, and is so excited to share Jamberry Nails with all of you. Emilie would love to be your Jamberry Consultant. You can visit her Jamberry page here. You can also email her at dressupyournails@yahoo.com with any questions you may have. She is very helpful. (I even emailed mid application for some tips)
Ok... but what is Jamberry? Jamberry is a U.S. based company that makes heat activated, vinyl plastic nail coverings. They call these coverings "nail shields". Emilie included this photo sized business card with my nail shields. On the back of her business card, she included an extra shield. When can I Jamberry? Any time! Jamberry is great for every day, but is also a great idea for special occasions. Do you have a wedding, prom, photo shoot, or work presentation coming up? Jamberry nails look sleek and sophistacated at the same time as looking fun. Jamberry would also be a great thing to do at a spa party. Of course, Jamberry does the hosting parties if you would like a consultant to come over and host the party for you. This sheet is the one I was sent. There are 18 shields on a sheet. The shields come with a set of instructions. These instructions were located on the Jamberry nail site. They seem a little more descriptive than the card.
Step 1: Clean nails with nail polish remover or alcohol. (Clean, oil free nails are one of the most important steps of the application)
Step 2: Cut and file nails to desired length and shape.
Step 3: Buff top of the nail and push back cuticle.
Step 4: Match nail (finger or toe) to the nail shield that best fits.
Step 5: Peel off nail shield and warm with a blow-dryer 10-15 seconds or until soft and flexible.
Step 6: When warm, press the shield onto the nail. Apply firm pressure around edges to adhere the shield to the nail. Use rubber cuticle pusher to seal the shield around the cuticle.
Step 7: Trim the top with scissors and file off remaining shield using a downward motion to remove excess.
Step 8: Apply heat and pressure to the shield again until it is sealed to the nail. (Repeating this step several times helps create a tight seal to the nail surface and increases wear time)
Optional Step 9: For active users you can add a small amount of nail glue to the free edge to better seal the nail shield.
How to Remove: Use hair dryer to heat for 15 seconds and slowly peel from the corner of your nail
Jamberry's video directions/tutorials Here are the shields and instructions together. Here are my toes before the Jamberry nail shields. ( i hate feet ) Here are the nails after applying heat and pressure. As you can see here. I only used up 2 nd 3/4 shields for a full pedicure. After cuting and filing, my nails looked good. But by the end of the first day, my smaller toes began to fall off and some corners began to lift. Although I highly enjoy the concept and designs, these seemed a little unpractical for my life. I work two jobs regularly, do freelancing, side jobs, babysitting, the blog, I workout daily, I have my family, my boyfriend, and sometimes I require eating and sleeping... doing this pedicure took me over 45 minutes. (not including researching the videos, instructions, tips etc...) Polishing my nails takes three minutes.
For a special occasion these would be great for me though. I may just get some for the next wedding I have to attend.
Because these are heat and pressure sensitive strips, I think my daily routine may have sped up the wear time. Daily, I have multiple shoe changings. (from running sneakers to heels, or from pointe shoes to ballet shoes. I work out a lot, so running and dancing is causing hot sweaty feet and movement of my toes in the shoes. I think my shelds may have been getting pulled and tugged on, causing them to not stick as well.
If your less active, or dont wear shoes and hosiery often theses would probably work great for you.
Please keep an eye out on our blog page for continuous updates to this post. I will continue to use the Jamberry nail shields in manis and pedis and will update pictures and thought every time.
Alyx's Fave Nail Shield Designs Click the image to be taken to it's page on the Jamberry site. This blog will be updated throughout the wear of several manicures and pedicures using Jamberry nails. Please keep an eye out for updates on our Facebook page.
I got to try Kiss Nail Dress stick on nail polish for testing and review purposes from influenster.com. Just like other similar products, Kiss Nail Dress comes with a bunch of different size polish stickers and a nail file. As you can see below they do apply just like other nail stickers. Clean your nails, select the size you want and smooth it onto your nail bed and file off the excess sticker. SO SIMPLE! I actually finished both hands in five minutes! What I love about these ones compared to others is that these are designed to be made for your fingernails OR your toenails. In the photo above you can see how the shape is made to fit both! You get 28 in a box so you have plenty to do fingers and toes! How cute are these designs?! I'm in love, they stick on very well and can last up to 10 days if your not to hard on your fingers. I tend to take really hot showers (I know bad for your skin) so mine peeled up a little after 5 days, but still all I did for the one that was coming up was peel it off and stick on another and it's like new!
It does come with a little booklet that gives you some neat ways of how you can cut them and use them to style a french manicure or combine patterns! I didn't want to post the photo of that booklet so that you'd be intrigued to hopefully go grab a pack and try them out on your own. For only $6.99 you can't go wrong
They are available in all major drug chains and mass retailers like WalMart, CVS and Walgreens
_ "Like" the Knockout Nails Facebook Fan Page you are automatically entered to win a free Knockout Nails System which will be drawn March 1st! Does your nail polish look like this after only a couple days of wear? Or do your nails peel and break like mine?! Keep reading. Knockout Nails gave me the opportunity to try out their UV Nail Hardening System! Now I have tried other products kind of like this and wasn't pleased and ended up returning it because they would peel off. But this is different and isn't a kind of gel nail that "soaks off", they are filed off when wanting to remove them. That alone tells you this stuff is good! Also, with this kit, there is no need to redo the whole entire application when wanting to change your nail polish color. The acetone in the remover will not damage the hardener, so if you like to change your color daily, this kit is for you! Take a look below at it's contents and directions! The first professional UV nail hardening system you can use at home! Here is what your kit includes! Total contents nail polish, cuticle oil and top coat Cleaner, Bonder & Hardener Nail files, cuticle pushes and lint free pads UV lamp Before, with nail polish removed Step 1:
File your nails (not needed in my case) with the "file" to shape and file nails to eliminate all rough or sharp edges. Then gently push back your cuticles with the orangewood stick.
Step 2:
Use the "Smooth" file to remove any gloss from your nail bed.
Step 3:
Using one of the lint free cleaning pads and the Cleaner, remove dust and oil from the nail by scrubbing each nail for 10 seconds. DO NOT touch your nails before the next step, if you do please clean them again.
Step 4:
Apply the Bonder to the entire nail surface, including the fingertip edge. This will help the hardener adhere to the nails.
Step 5:
Apply a VERY THIN coat of Hardener starting 1/8 inch from the cuticle, and brush towards the edge of the fingertip, without getting any on your cuticles. If you happen to get any Hardener under your nail use the orangewood stick to remove.
Step 6:
Place your hand in the UV lamp and press the red button. The light will turn off when the Hardener is dry! Then go back and apply one more thin layer of Hardener and place it under the UV lamp again. (May do a third time if your nails are really fragile)
Final Step:
Your nails with be tacky feeling. Use the cleaner and the same lint free cleaning pad used in the other step to remove the remaining adhesive on the surface. Now your good to go and not worry about your nails breaking!
Note: You can also apply the nail nail polish that is provided OR any other brand of nail polish after and dry using the UV Lamp and it will last three times longer! For better adhesion use the Bonder before applying polish!
Finished Results:
As you can see in the finished product, the nails look thicker and shinier! I love how healthy they look and that this stuff does not peel off as easy as gel nails do. They have stayed shiny for a week now and haven't chipped off! I am obsessed with wearing it even without nail polish because of how healthy and strong they look! 10 out of 10 for me!Get yours kit here: Knockout NailsUSE CHECKOUT CODE KONBEA TO RECEIVE A KNOCKOUT NAILS SYSTEM FOR ONLY $79.97. THAT'S $40 OFF THE REGULAR PRICE OF $119.97! THIS OFFER IS GOOD THROUGH MARCH 1ST.
This is how it works. You first put a base coat on you nails and allow that to dry, then paint any color that you would like to be showing through the cracks of the shatter. Once that is completely dry then you can begin the crackle application. Paint on a thin layer of crackle and be sure to not go over the same spot twice because then it will make less cracks or may end up being to thick to even crack at all. Then almost instantly it starts cracking and separating as it dries. Finish with a clear top coat (my favorite is Seche Vite).
These come in a variety of colors and you can get real creative with the colors used with their base colors.
I want to start of with saving me and Mr. Shatter have a love/hate relationship. The concept of this polish is great and fun! It flies off the shelves at stores and everyone is wearing it. When I have this shatter on my nails, I must say that I do get a lot of questions and compliments on it, which I'm always more than happy to explain to them.
Now, the hate(more like dislike) part... The OPI brush is the perfect size brush to get the one sweep across the nail bed and makes it easy to not have to go over it, but the product dries so fast that sometimes when I start at the cuticle and bring the brush forward its drying as I do that and the brush "skips". By skips I mean stops applying any polish to the nail. That can get frustrating because if you can't manage to fix it you have to take the polish off and start from scratch. Also found it to clump up a lot.
I did learn a neat little trick though. If you like the vertical cracks then just apply it as you would regular nail polish. But if you would rather have random cracks in all directions paint the shatter on in random strokes!
Overall, I believe this nail polish is worth trying at least once. It's fun and can add a real spunk to your nails. There are cheaper alternatives to the OPI Shatter (Sally Hansen Crackle) but I like the formula and way the OPI works better.
$8.50
|